Last Updated: 2019-08-28
What is AutoML?
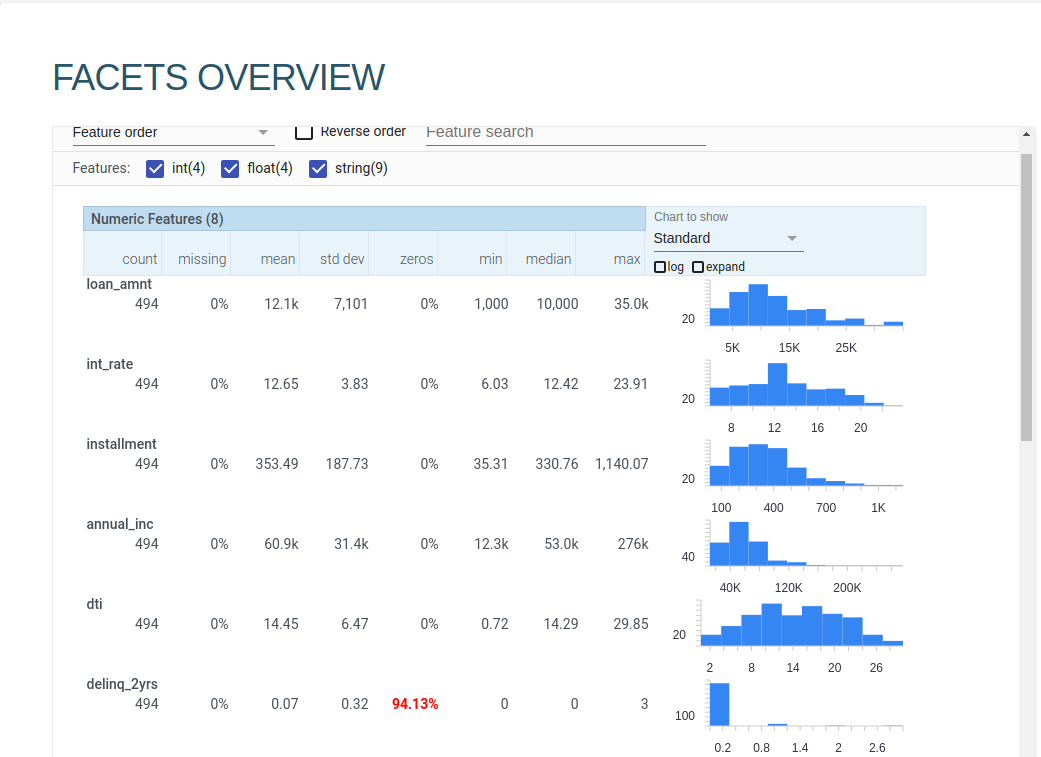
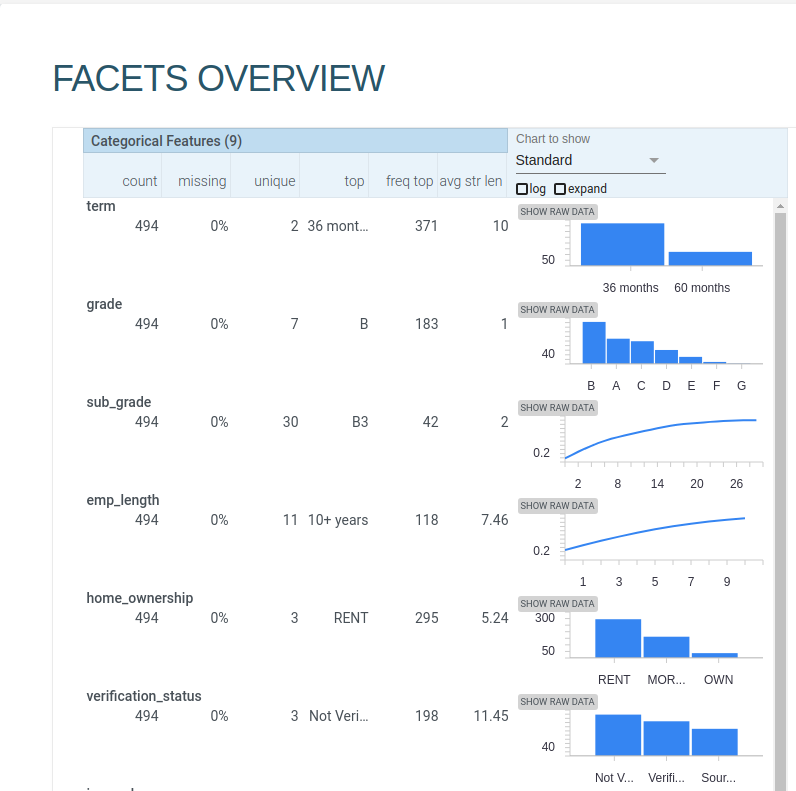
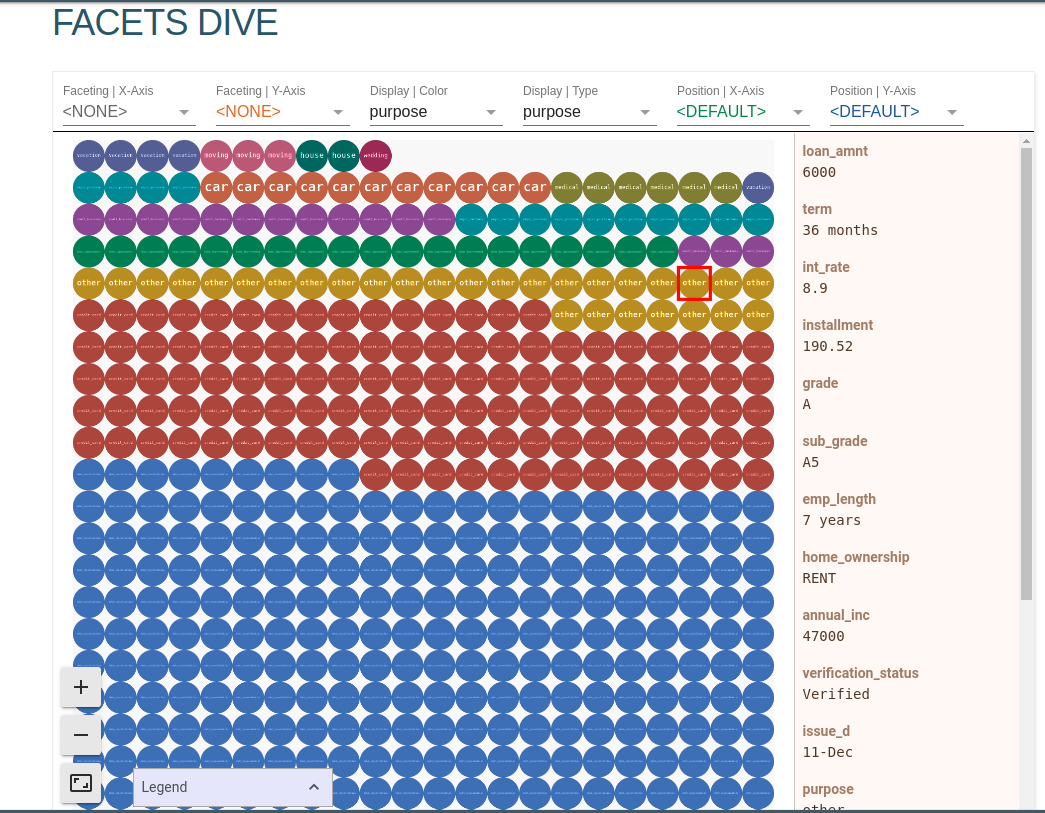
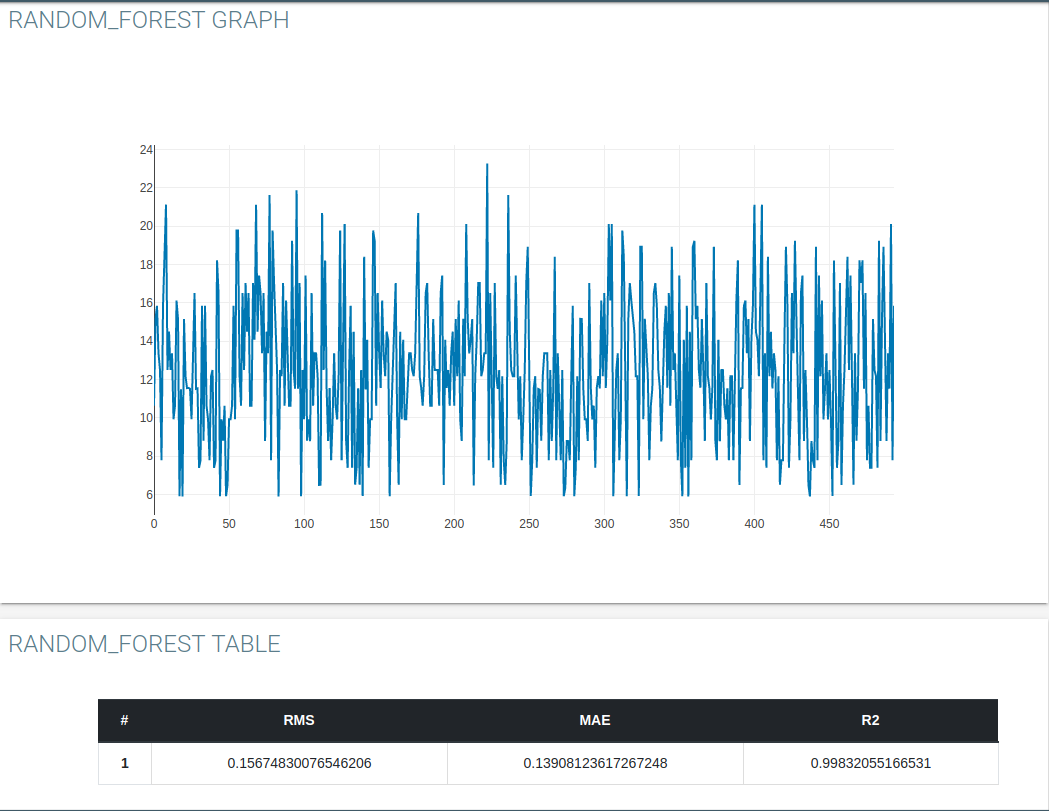
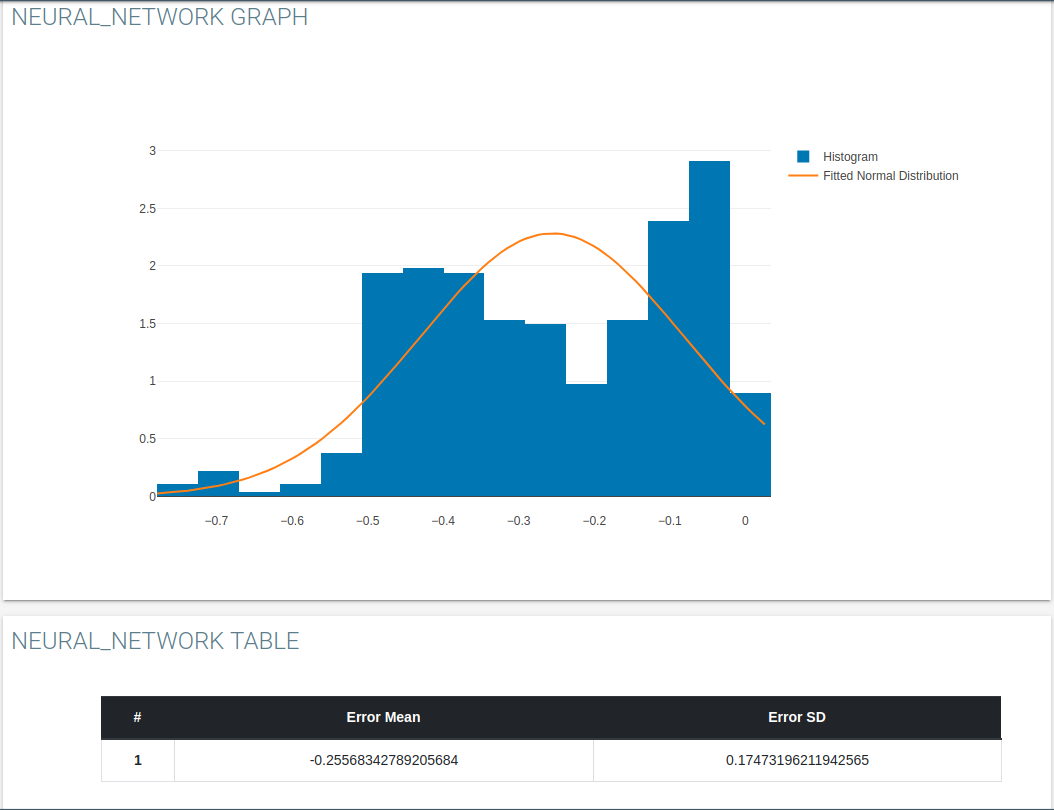
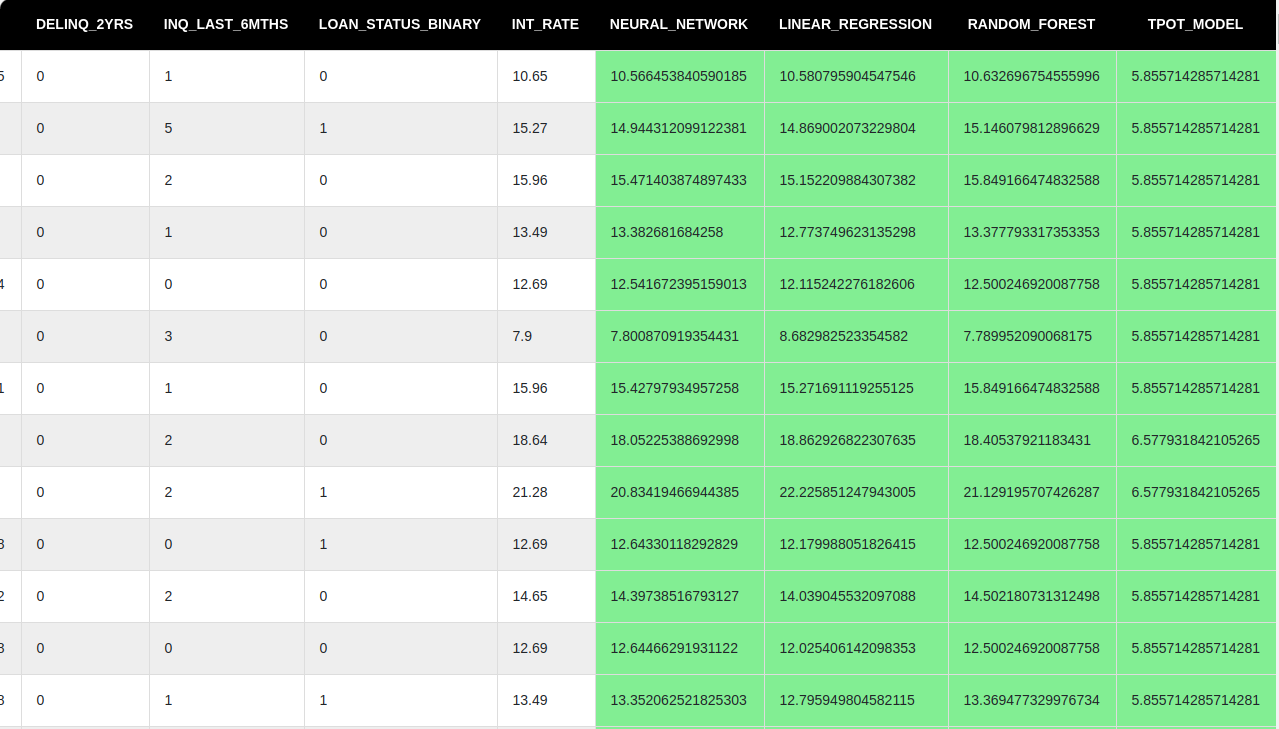
AutoML is the advanced version of credit risk app, which contains both old functions of credit risk app and new functions. When choosing Single in the configuration tag, AutoML will perform as credit risk app, which let user input features and use the model trained to make predictions based on the input. When choosing Bulk in the configuration tag, AutoML is able to receive dataset in csv file, which should contain all the features needed for the trained model. Then, AutoML will use facets API to give users a view of how data looks, and make predictions on each record of the dataset file. To show the accuracy of the prediction, AutoML will generate scott plot, histogram with normal distribution, and table of parameters. To show the result of the prediction, AutoML also generates a table combining the dataset with the corresponding record, which could be downloaded in csv file.
Requirement
AutoML is a simple flask app, so it could be deployed several steps, which only needs python3.6, pip3, and related python packages.
Local deployment
git clone
cd AutoML-Frontend/app
pip3 install -r requirements.txt
python3 run.py
(modify run.py port to deploy the application on different port, everything is the same as flask doc, add sudo for port < 1024 in the last step)
Qusandbox deployment
Directly use the project already created in test2 server
If there is a need to update the code:
Start an old project, or the AMI with python3.6 nad pip3, then ssh the instance
Git clone or pull
Create new AMI
using existing postscript with new AMI in jdf to create a new project
Configuration
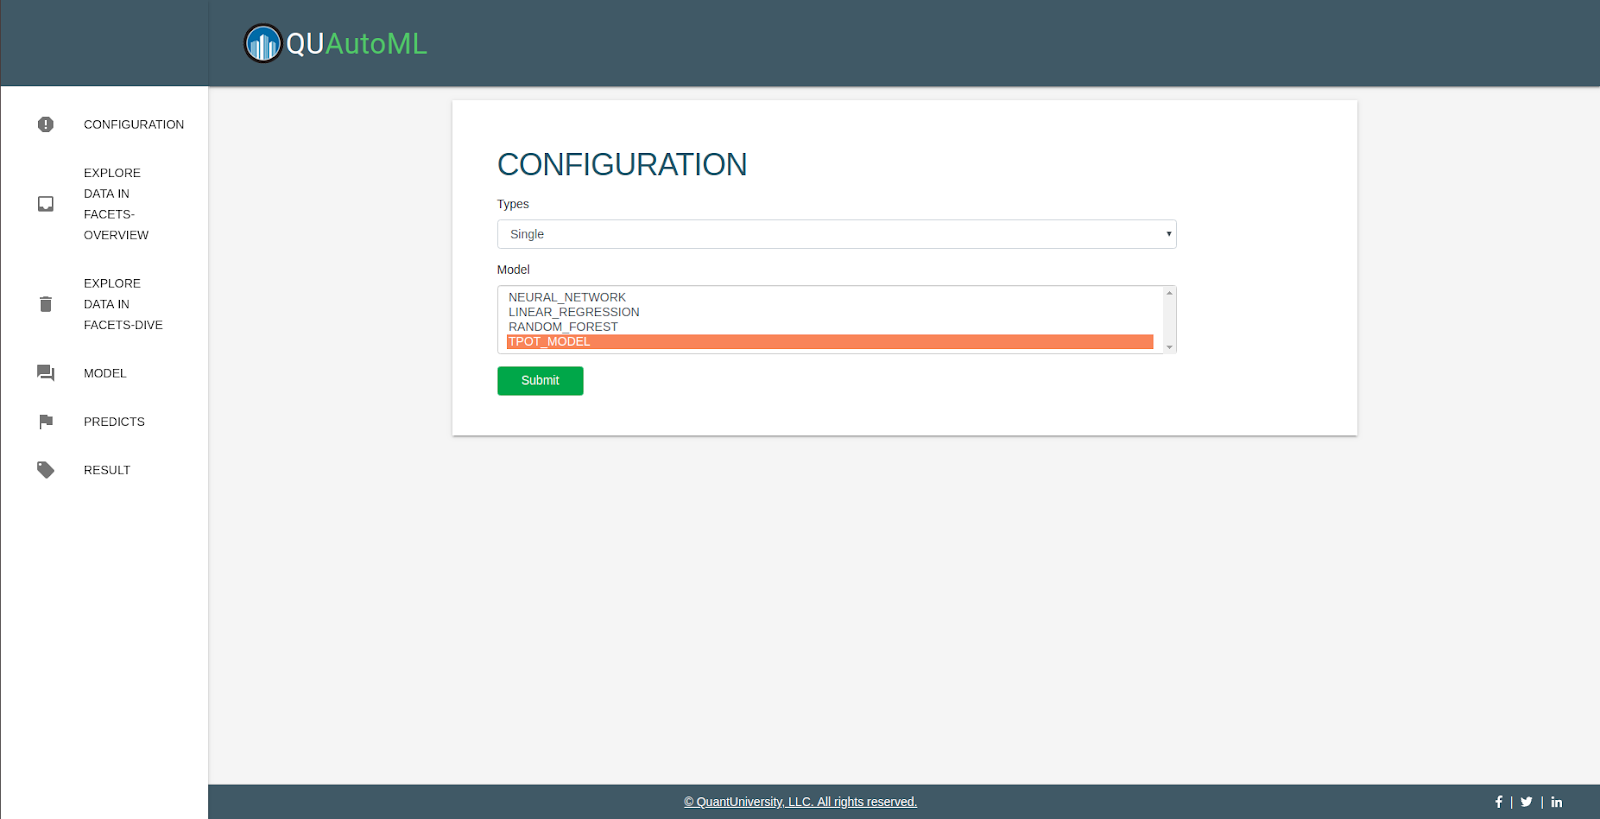
Choose "type" "Single", and multiple model, then submit
Input
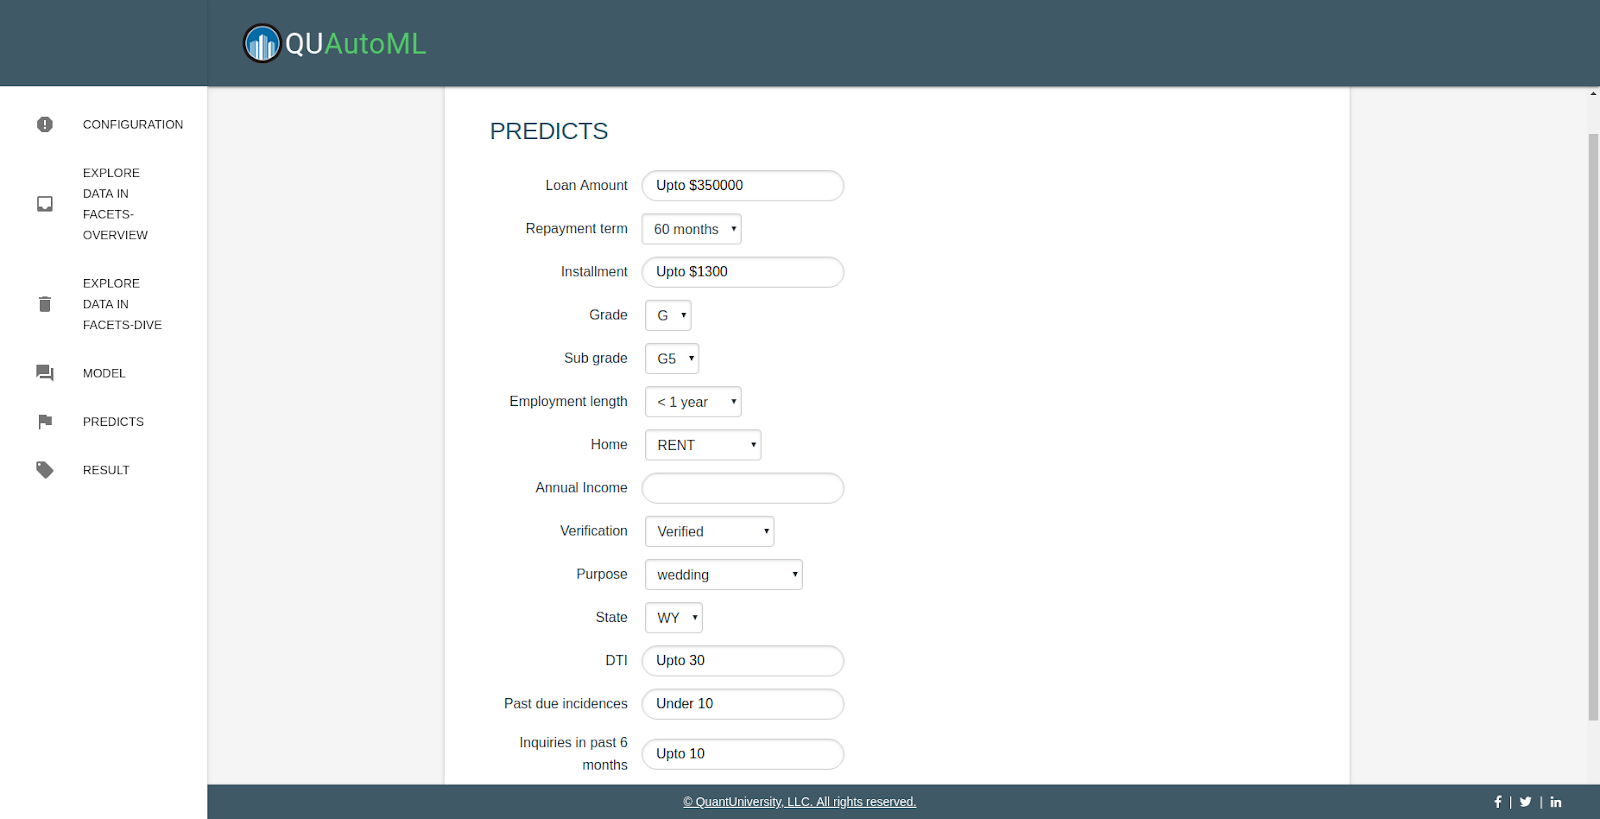
Directly go predicts tag, input missing value, submit
Predict
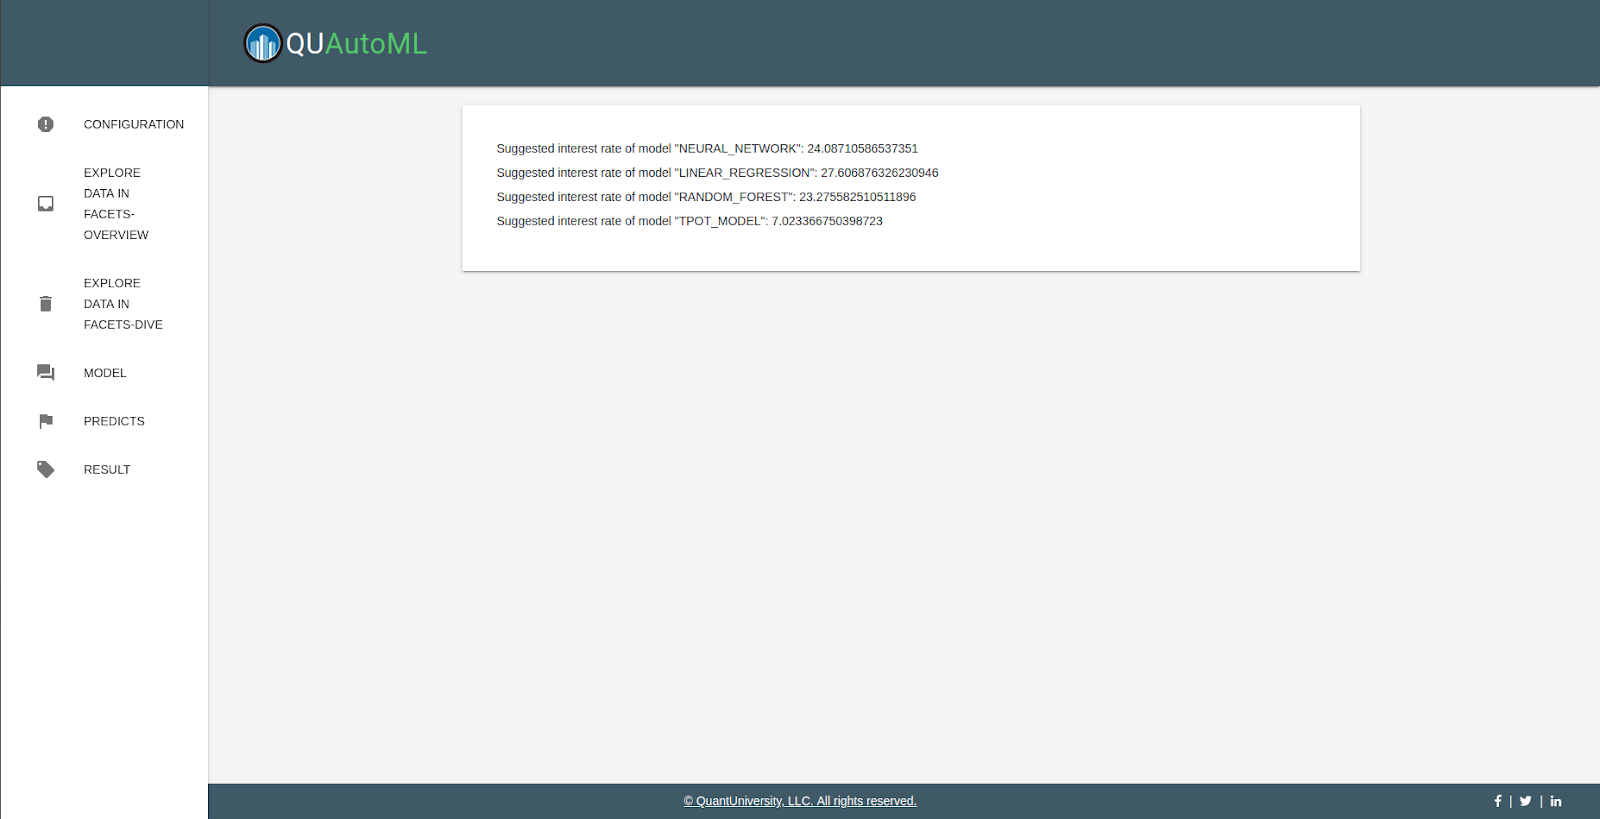
Go result tag to see the result
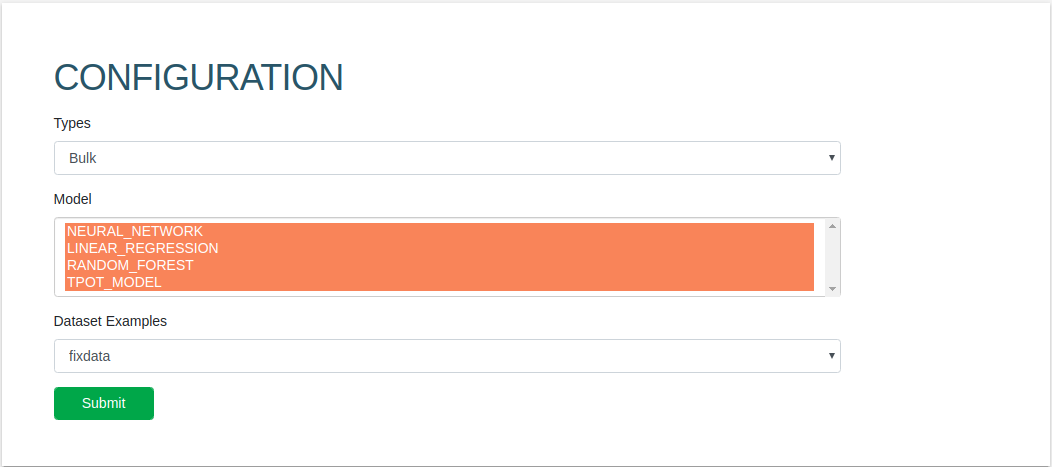
Configuration
Choose "type" "Bulk", and multiple model
Then choose none to update new data in .csv format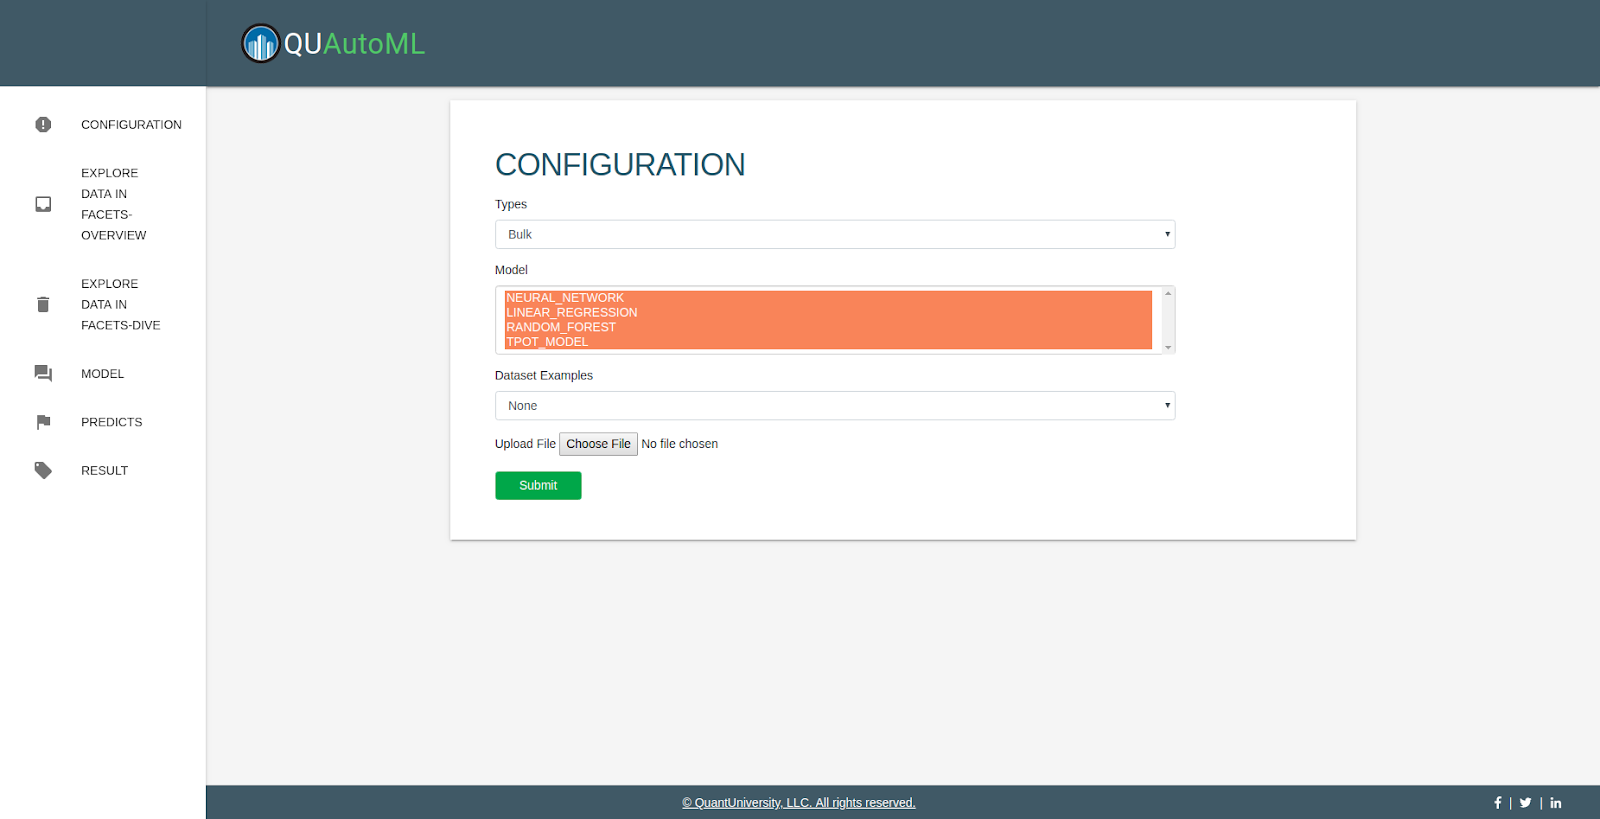
Or choose existing data, default dataset name is fixdata, then submit.
View
Using two facets tags to go through the dataset.
Accuracy
Using graph tag to go through the scott plot and histogram of prediction results.
Result
Using result tag to go through the prediction results, and download the results in csv file.
Basic
Pass the basic concept of flask and ninja, which could be found in their official doc.
Using session, whose name is job, to track the parameters following the whole lifecycle for a single process.
Uploaded data and default data are stored in static/uploads
Prediction_data.data is used for data format and limitation
.model files are the model used for prediction
Forms.py store the code used for configuration form, new forms should be added here.
Predictor.py store the code for prediction
Routes.py store the code of basic flask logic and workflow
Run.py is used for start the server
Routes
Flask routes could be treated as status in workflow
/
Generate the dynamic parts needed for showing the base page
/result
Receive and format the data of the configuration form and perform according to the "type".
Calculate all data needed for graph, and store in plot_tmp. (histogram data are calculated here, and in front end, the histogram is bar chart with histogram value)
To treat the corner case of having different style of none in dataset, using try catch here.
Also, generate the dynamic part of front end.
/predict
Receive single prediction form and return prediction.
Templates
Name shows the function of this html.
Exception.html is used for exception.
In graph.html, charts and graphs are created dynamically according to the data return by back-end.
In result.html, the result table is generated almost dynamically, except the target is hard code, as the model is hard code currently.
Add new model
In forms.py, SelectForm, model, choices, append new model name to the current list.
Put the pickle model file inside the autoML folder.
Modify the related code in predictor.py
For new Project
Doing things in case 1, and delete the old ones.
In result.html, change ‘int_rate' to new target.
In /static/uploads/, change fixdata to new default data, and related code in routes.py.
Change the predictor.py from hard code to dynamic