The website can be found at https://modelrisk2.qusanbox.com/
- Click on the Edit button beside the pipeline name.
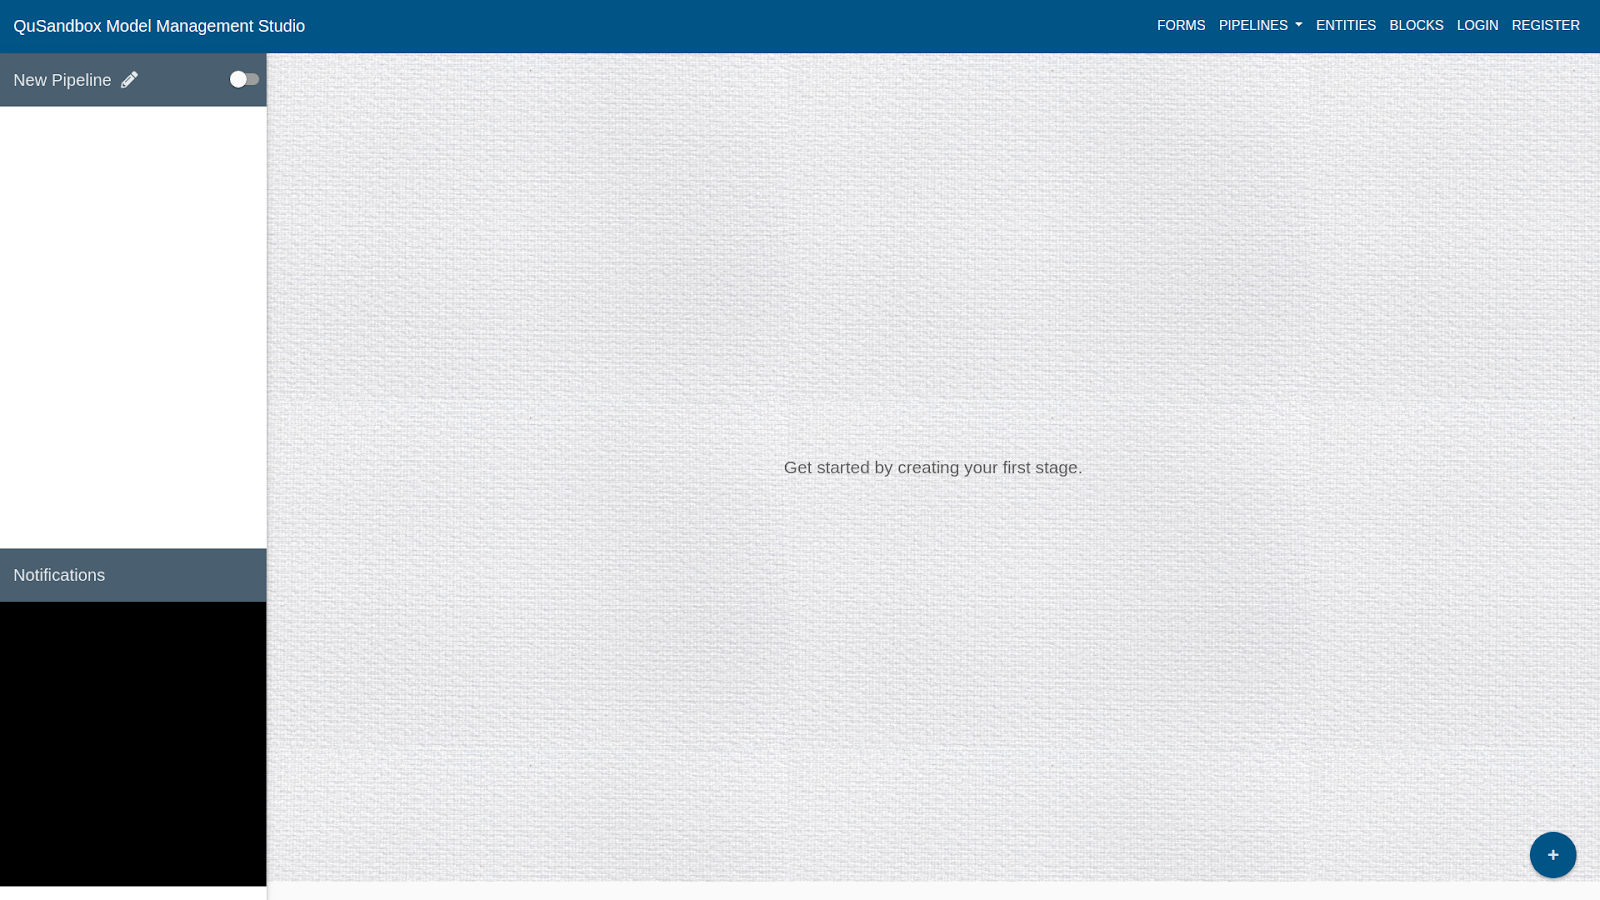
- A form slides down for the user to to fill in Pipeline information as shown below.
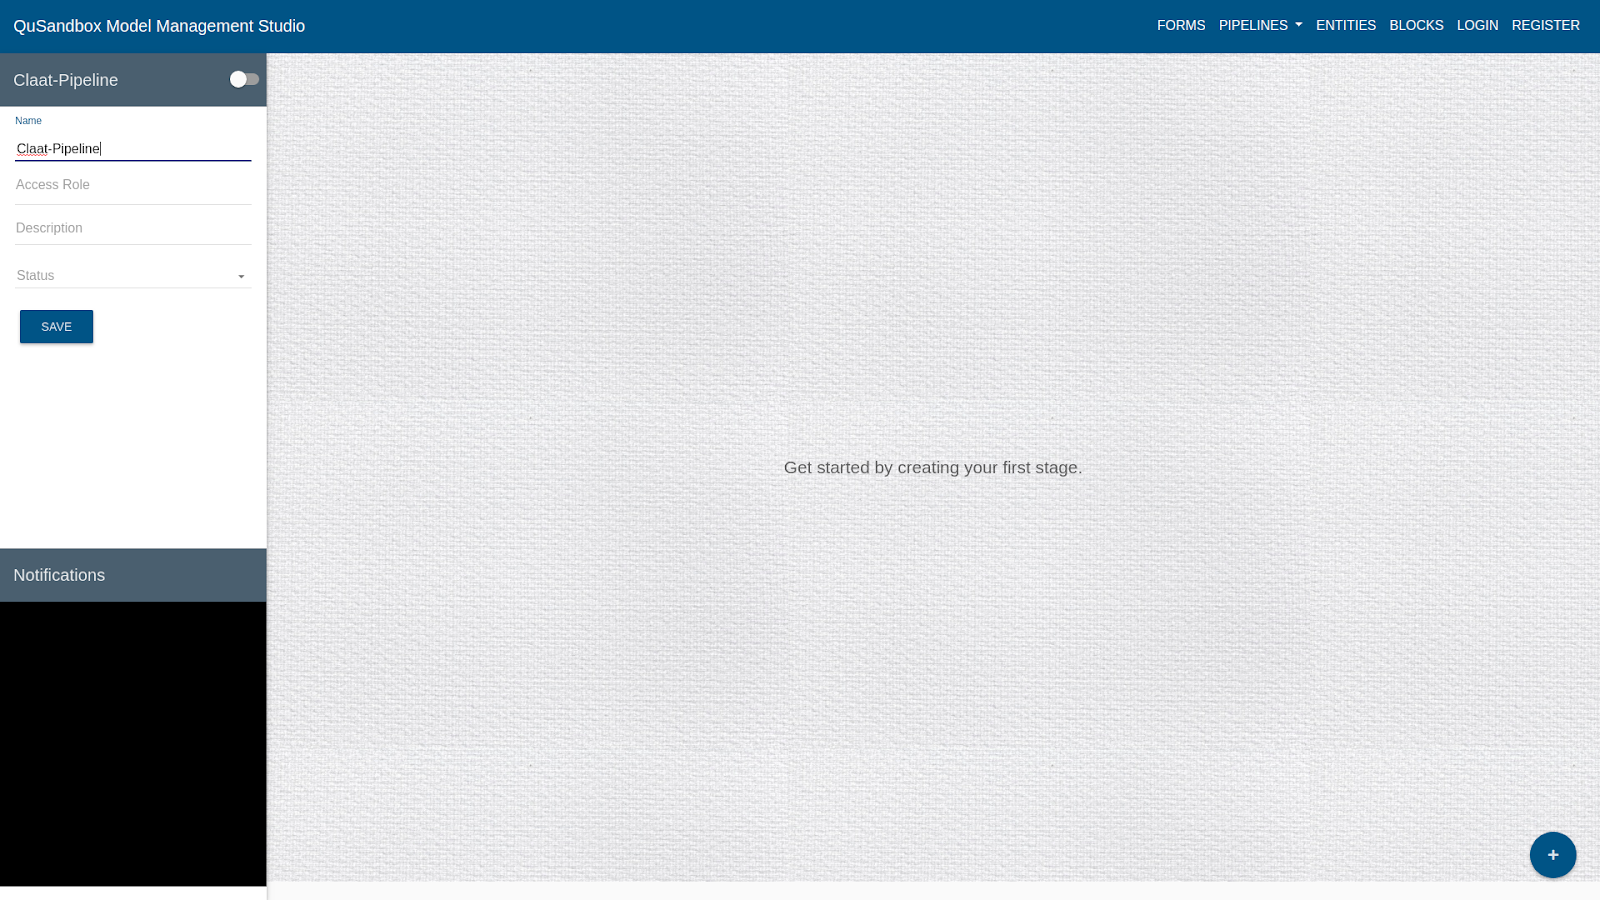
- Fill in the Details as follows:
Name: Claat-Pipeline
Access Role: public
Status: active
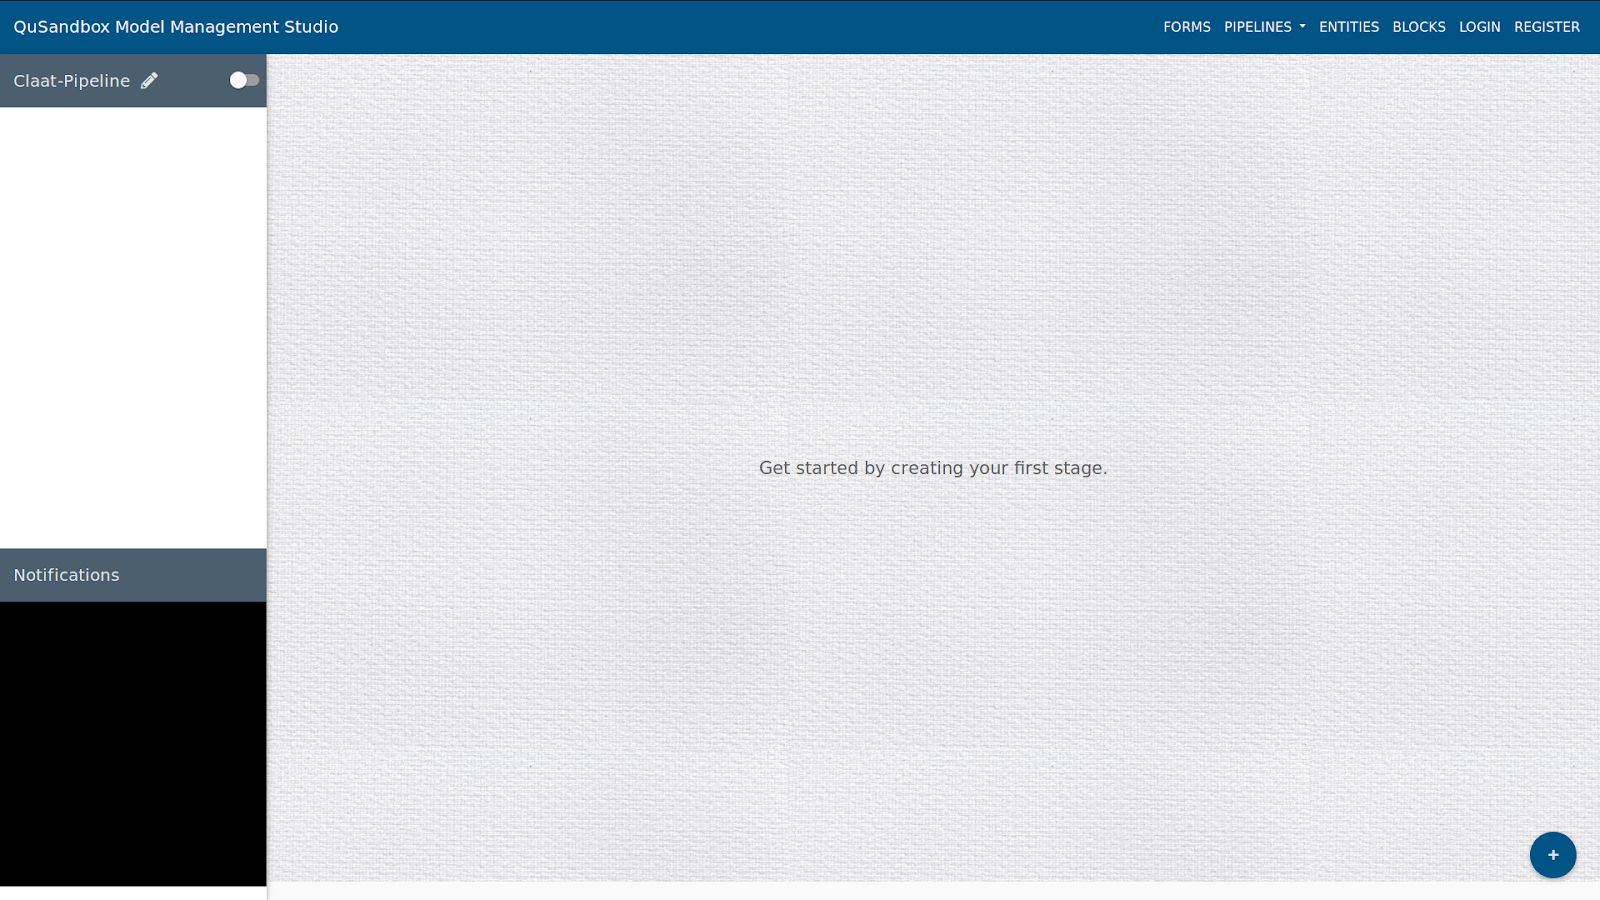
- Create a Stage, by clicking on the bottom right plus button.
- Add a Block to the stage, by clicking the "+" button in the added stage.
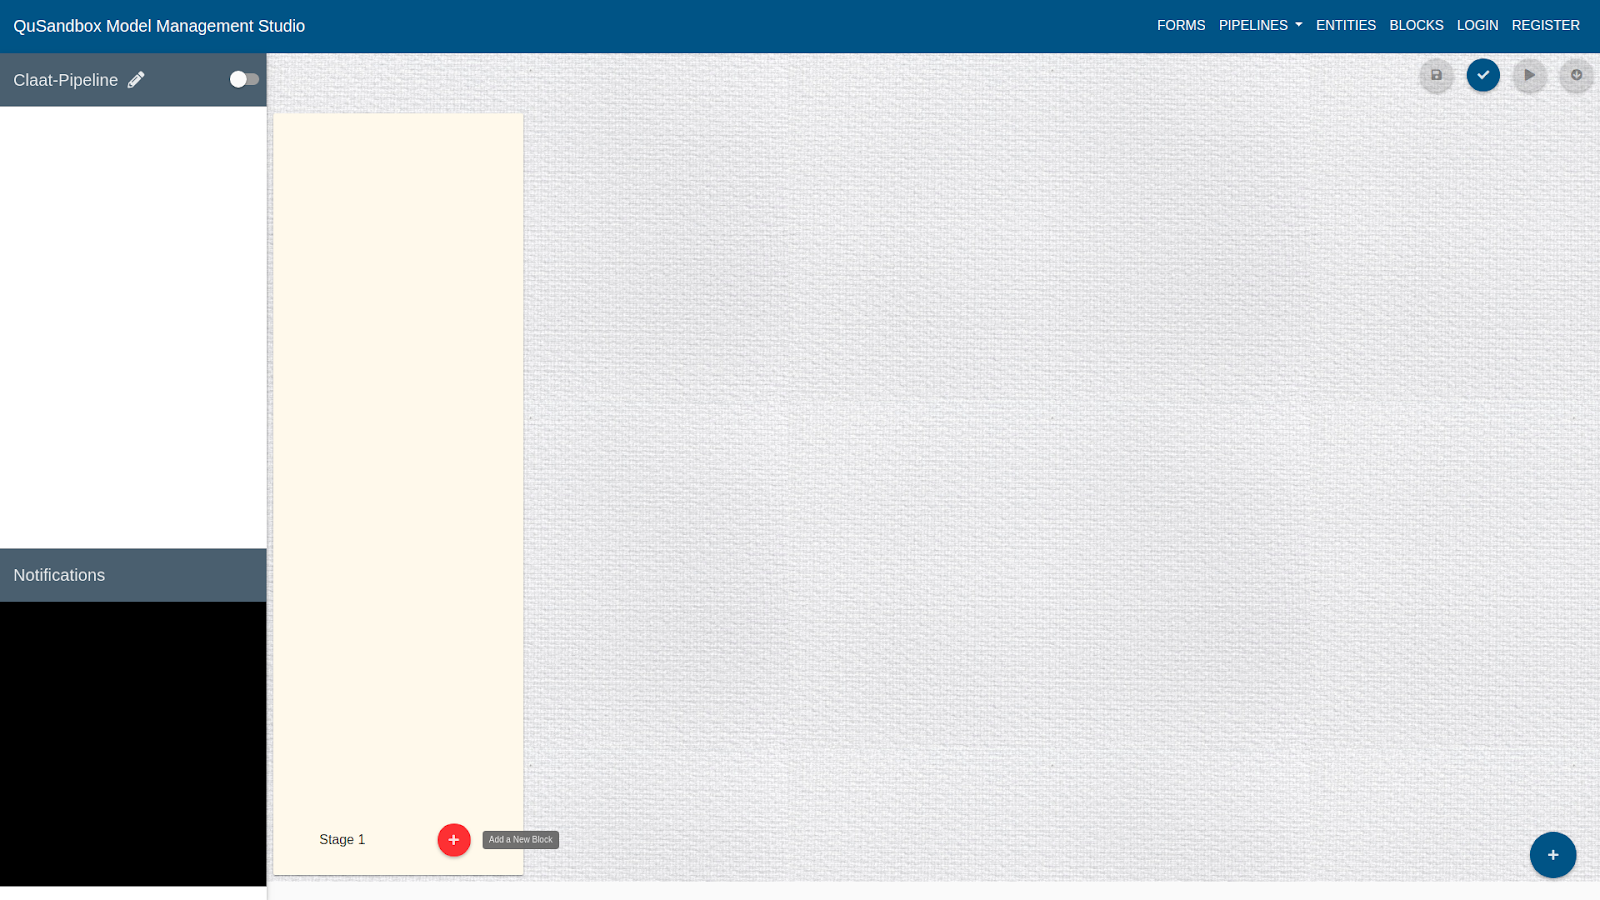
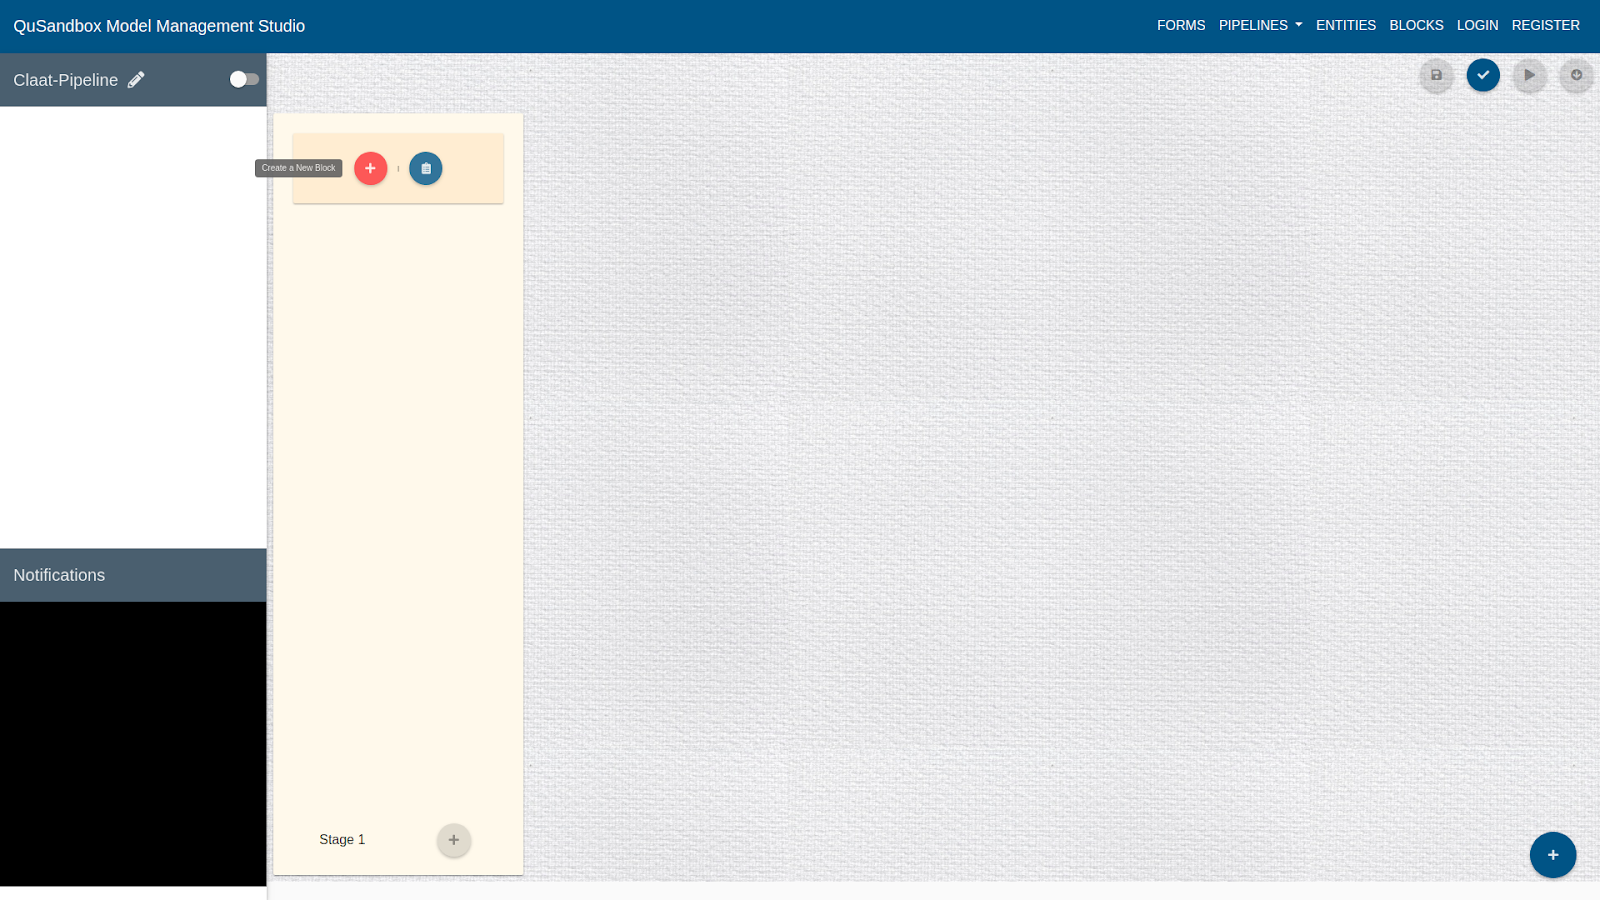
- Create a the block by clicking on the "+" button as shown below
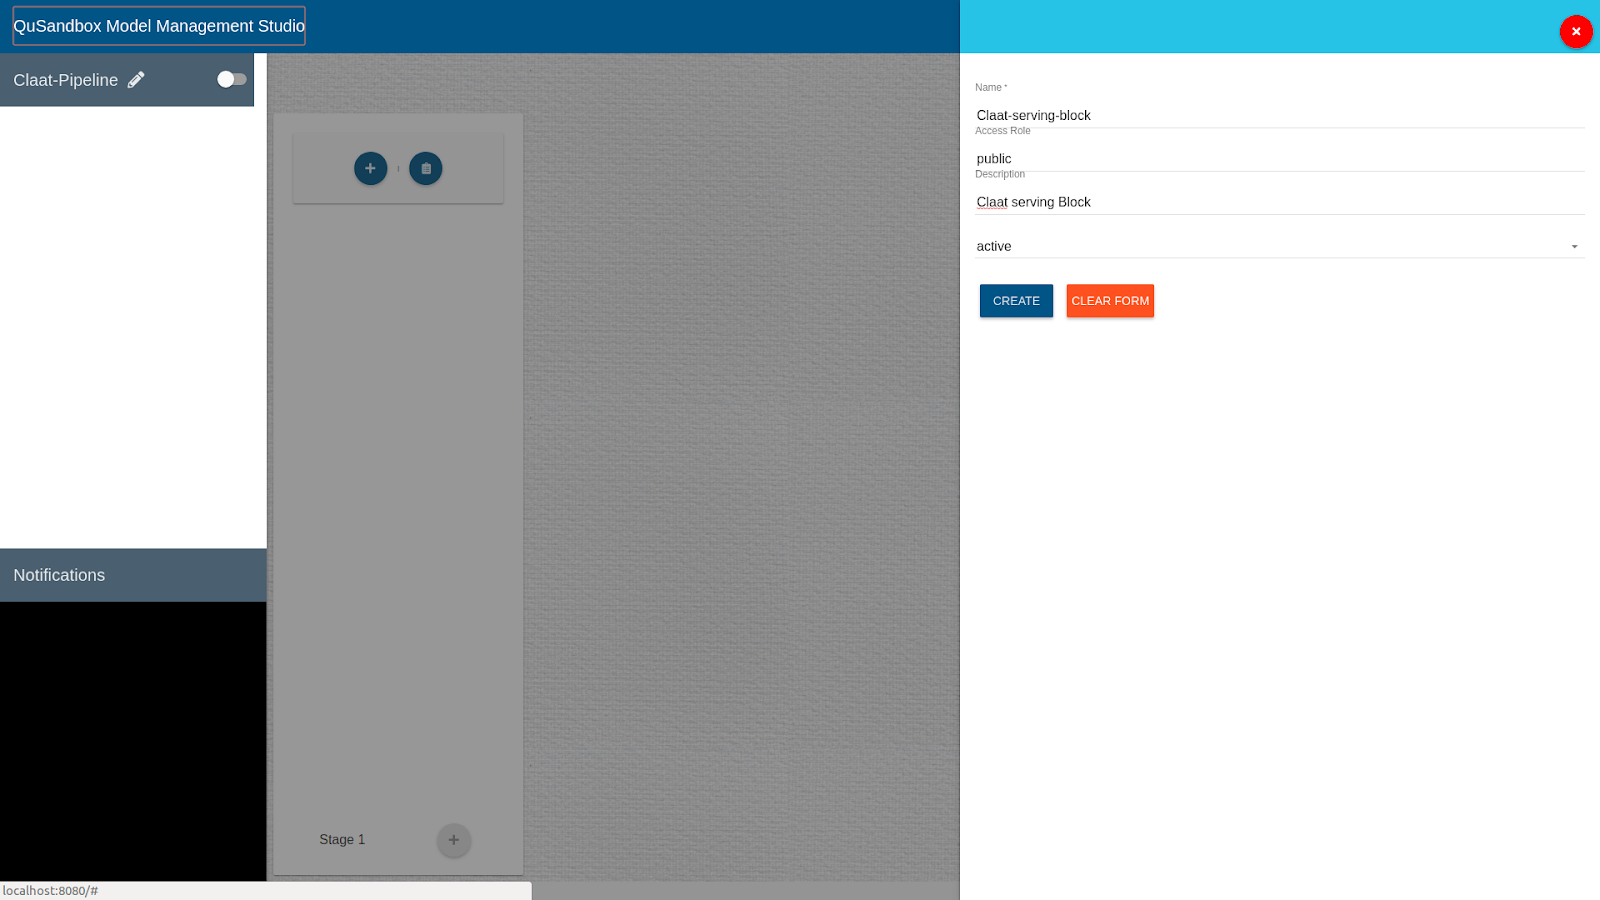
- Fill the details of the block as follows and click on "Create":
Name: Claat-serving-block
Access Role: public
Current Status: active
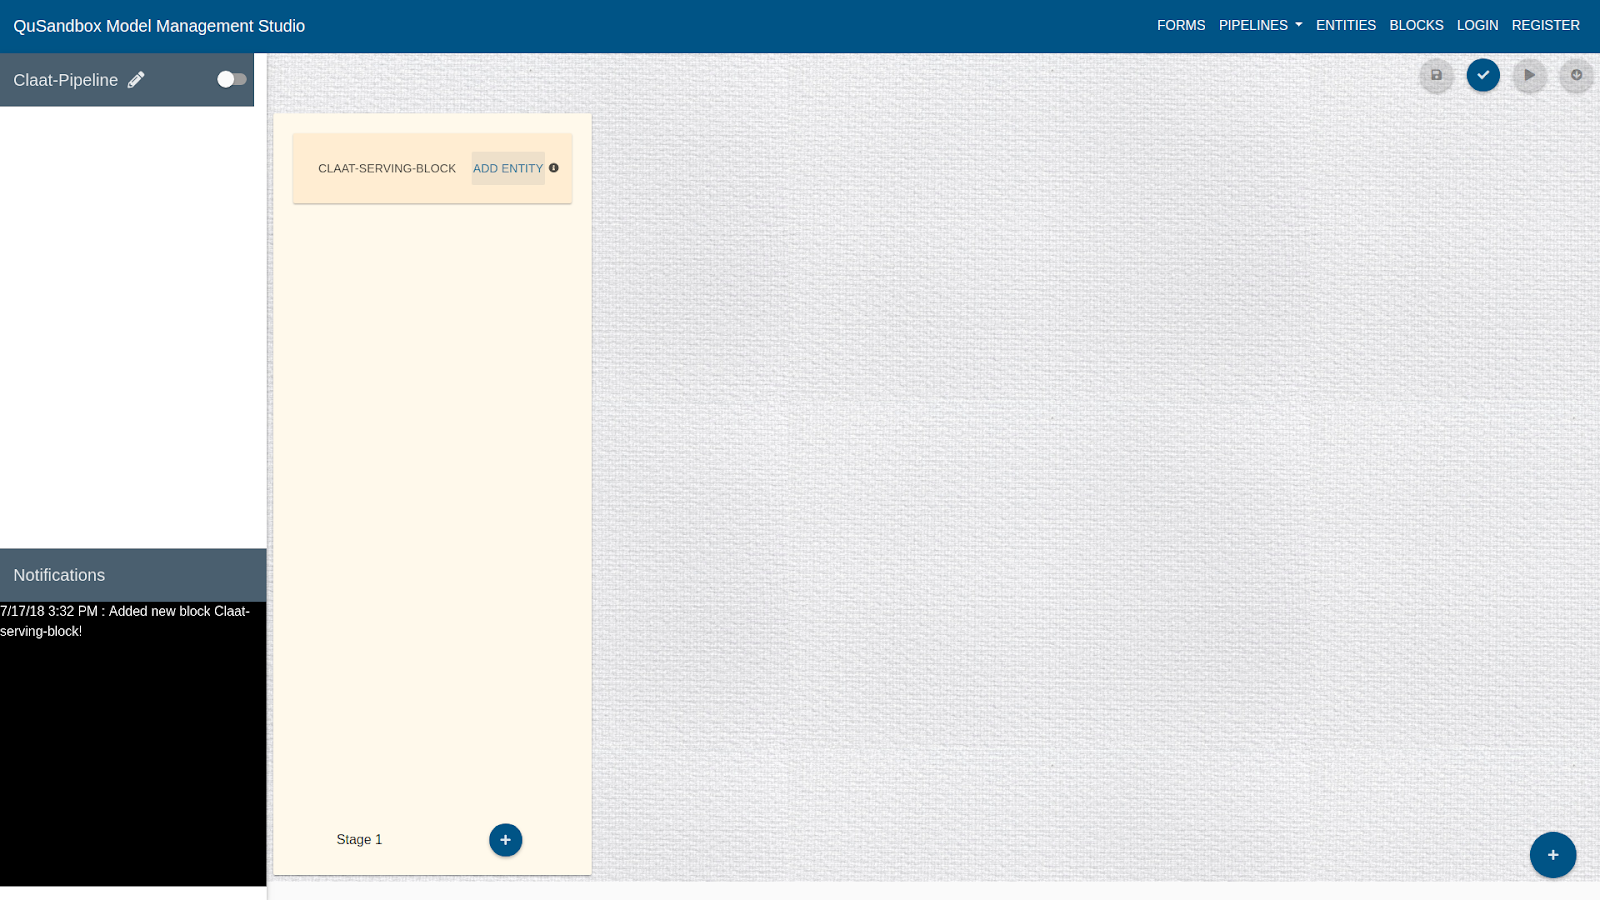
- Once a block is added user can add entities to this block by clicking on Add Entity as shown below.
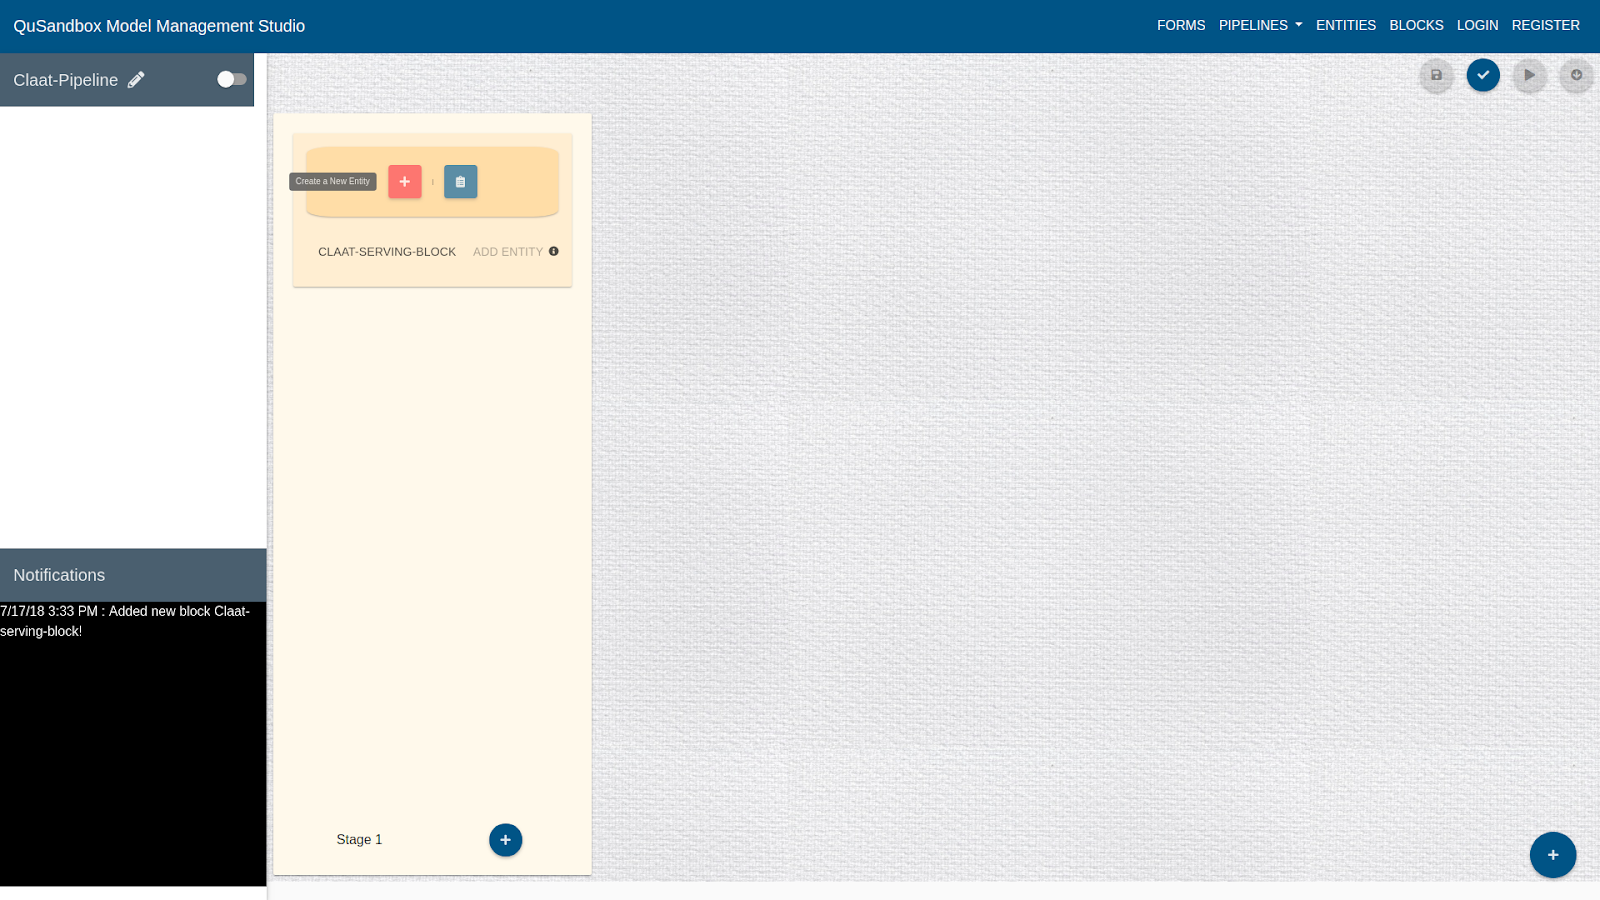
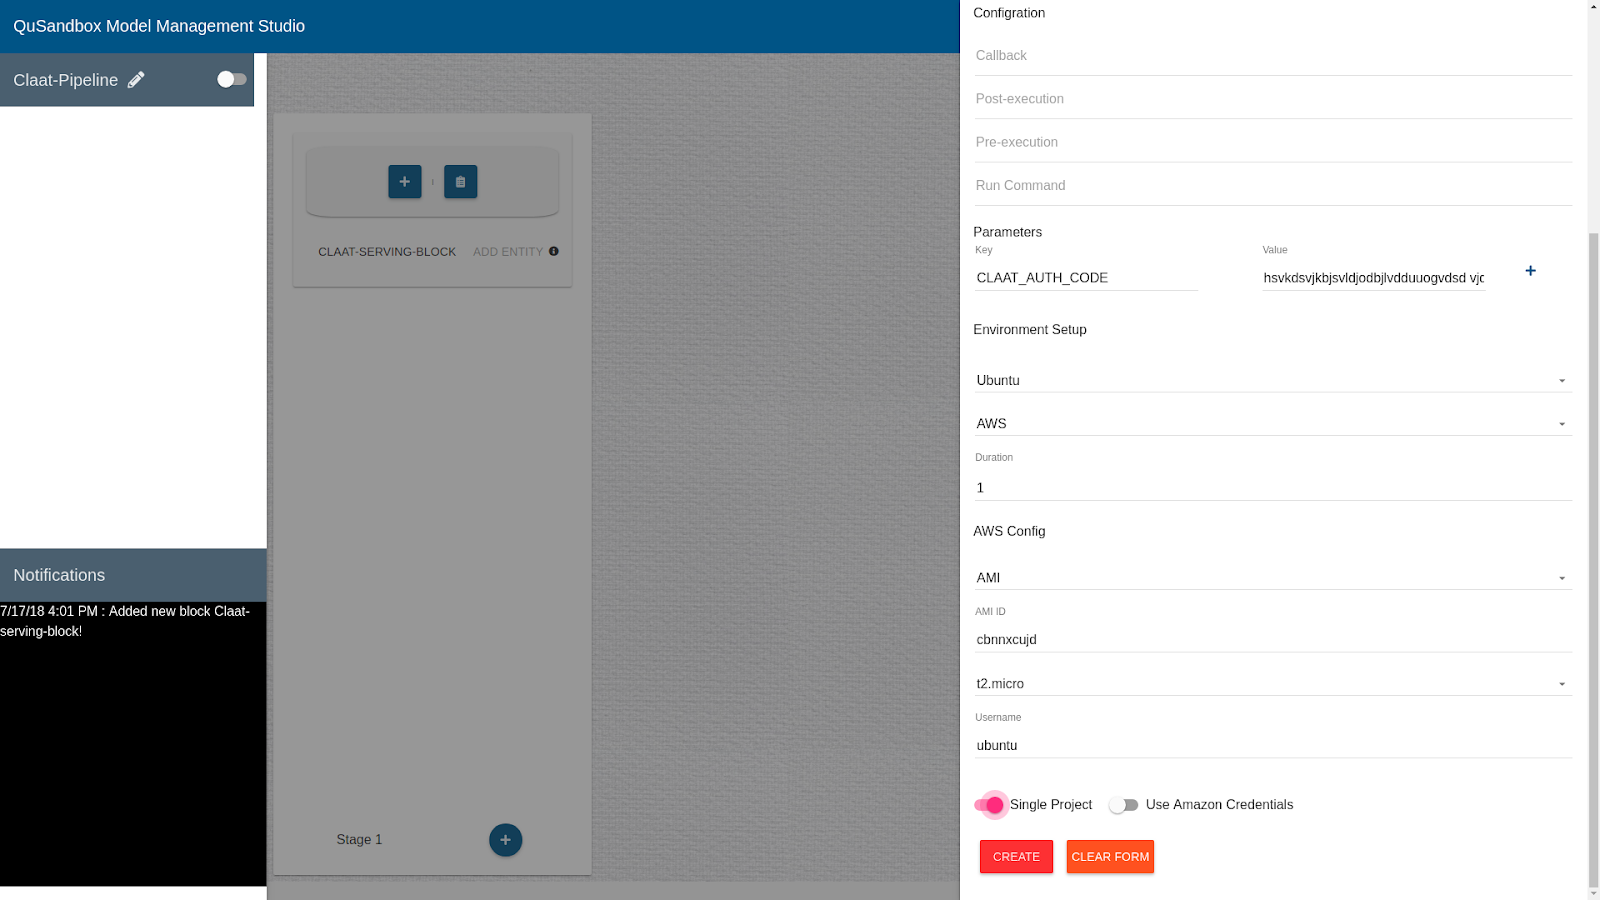
- Once an Entity is added user can create it by clicking on the "+" button as shown below.
- Fill in the details of this Entity as follows:
Name: Claat-Environment
Access Role: public
Current Status: active
Type of Entity: Environment
*Callback, Post-execution, Pre-execution and Run Command can be left blank
Parameters: key="CLAAT_AUTH_CODE" , value="YOUR AUTH CODE"*
Type of OS: Ubuntu
Source: AWS
Duration: 1
Start From: AMI
AMI_ID: "ami-b4b87ecc"
Size: t2.micro
Username: ubuntu
Single Project: true
Use Amazon Credentials: false
*For information on generating claat code visit https://github.com/ag-su2018-qu/AutomaticCLaaTServing
- Click on "Create", as shown below to add this entity to the stage.
- Follow Step 5 and 6 to add Model entity to this stage with the following details:
Name: Claat-Model
Access Role: public
Current Status: active
Type of Entity: Model
Src: "https://github.com/ag-su2018-qu/AutomaticCLaaTServing.git"
Post-execution: "https://raw.githubusercontent.com/ag-su2018-qu/AutomaticCLaaTServing/master/post_execution/run.sh"
Pre-execution: "https://raw.githubusercontent.com/ag-su2018-qu/AutomaticCLaaTServing/master/pre_execution/run.sh"
Source Type: Github
Select Image: sentiment_analysis_scraping1530543528937
*Callback and Run Command can be left blank.
10. Follow Step 5 and 6 to add Data entity to this stage with the following details:
Name: Claat-Model
Access Role: public
Current Status: active
Type of Entity: Data
Data Path: /data
Source Type: upload
Then click on upload button and upload the data file.
*Callback, Post-execution, Pre-execution and Run Command can be left blank
- To save a pipeline the user needs to first validate the pipeline by clicking on the "Validate" button on top right corner.
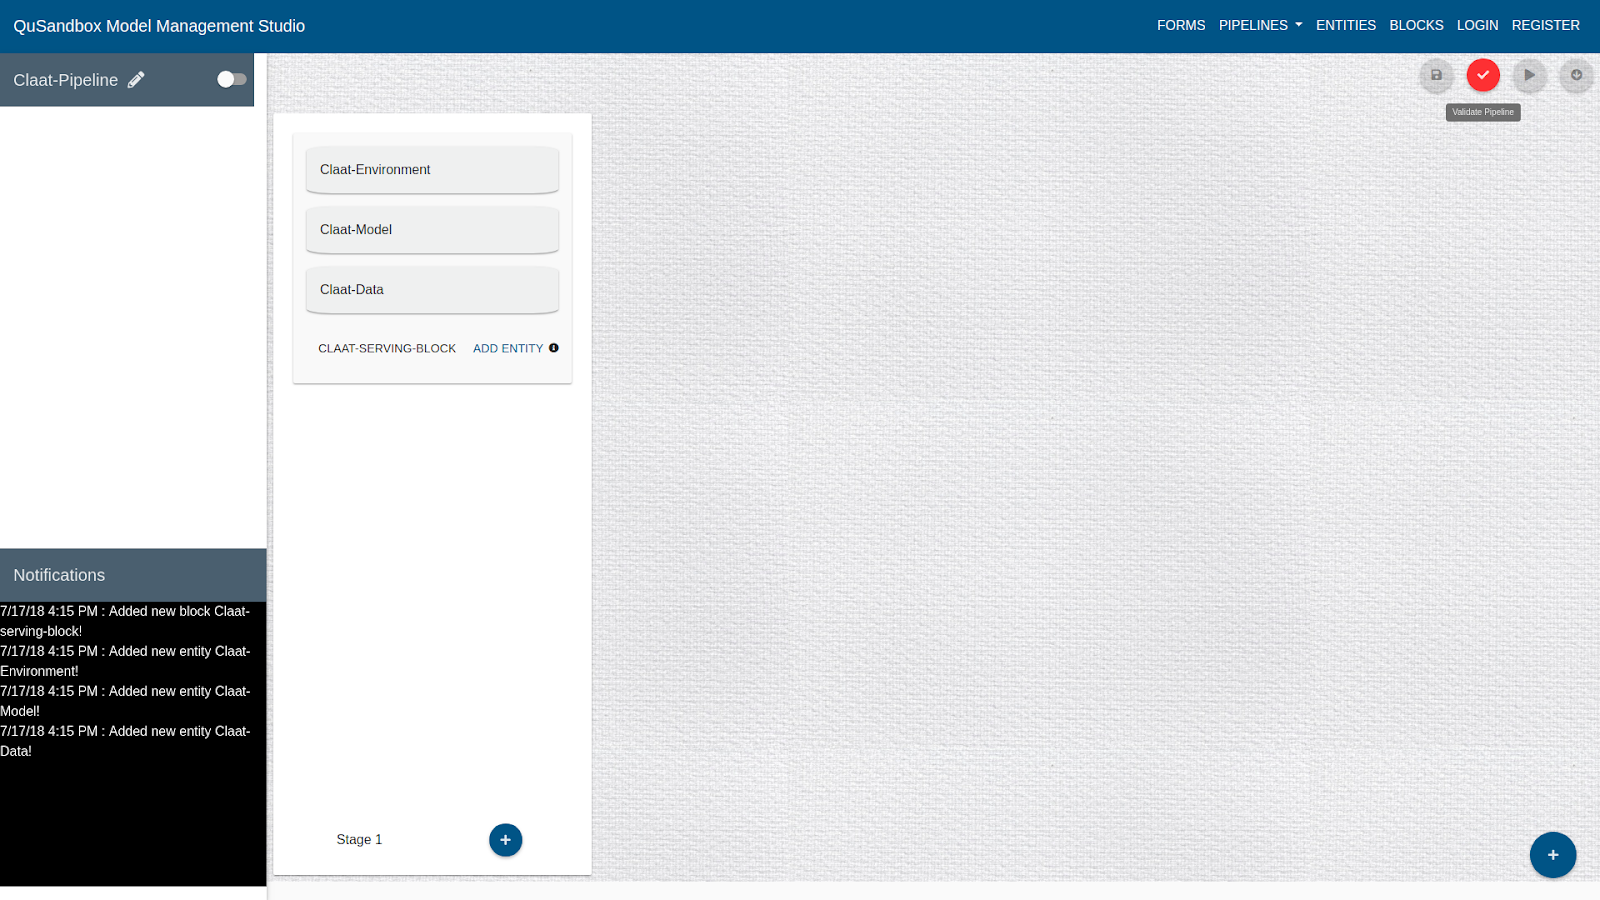
- Once validated user can save this pipeline by clicking on the "Save" button as shown below.
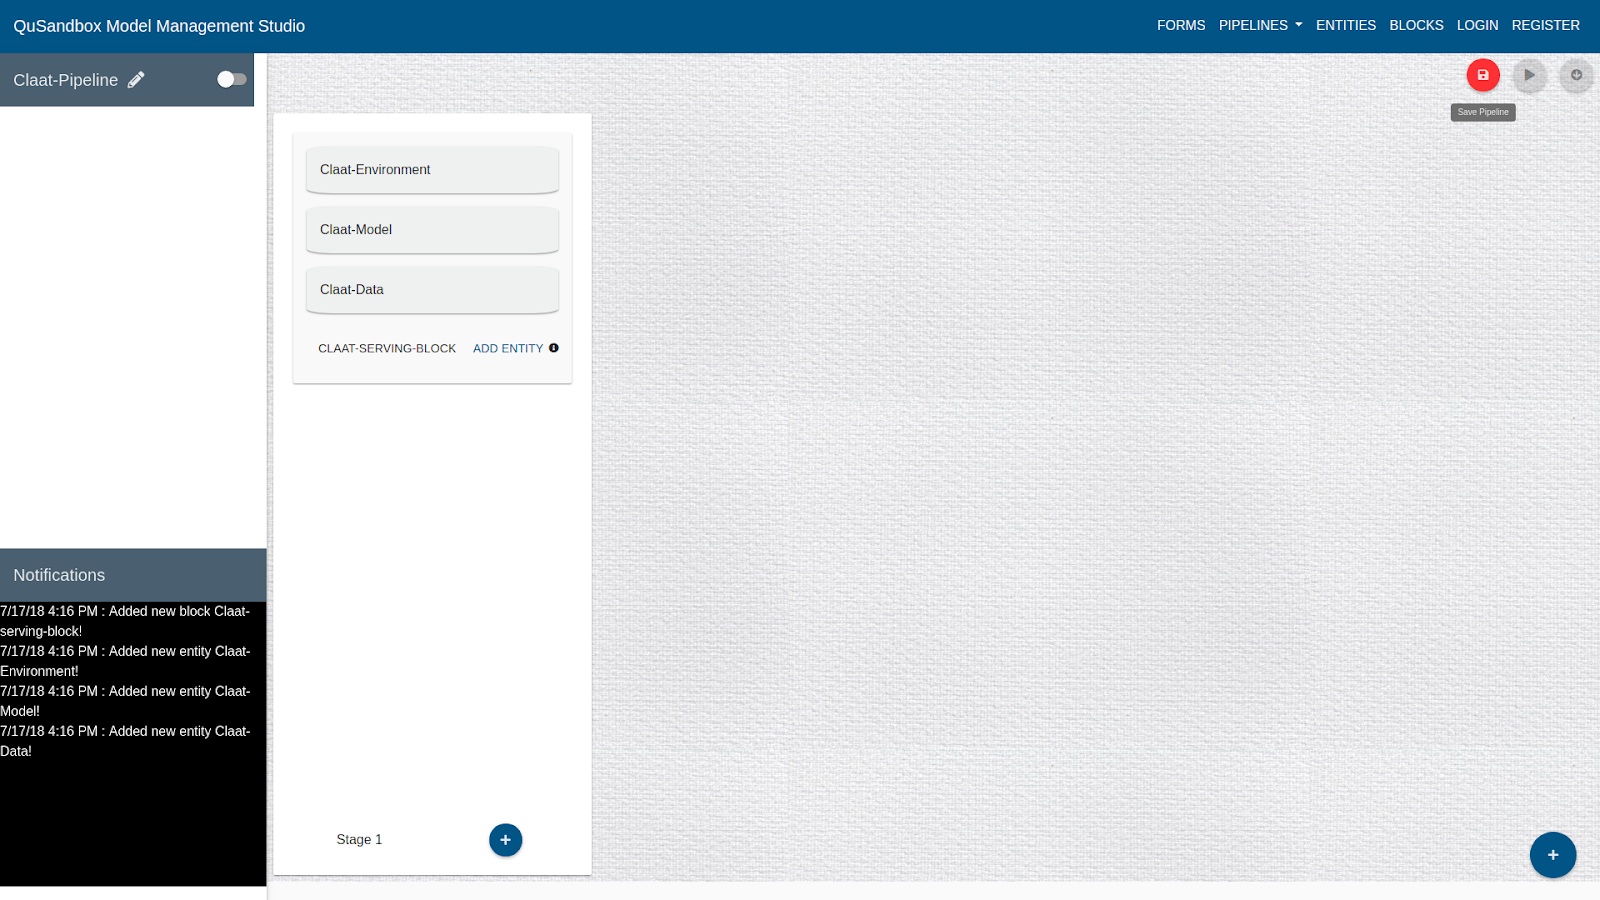
- After the Pipeline is save user can Run the Pipeline on QuSandbox.
- User first validates the pipeline by clicking on the "Validate" button as in the previous section.
- The user can now click on the "Run" button as shown below to run the pipeline.
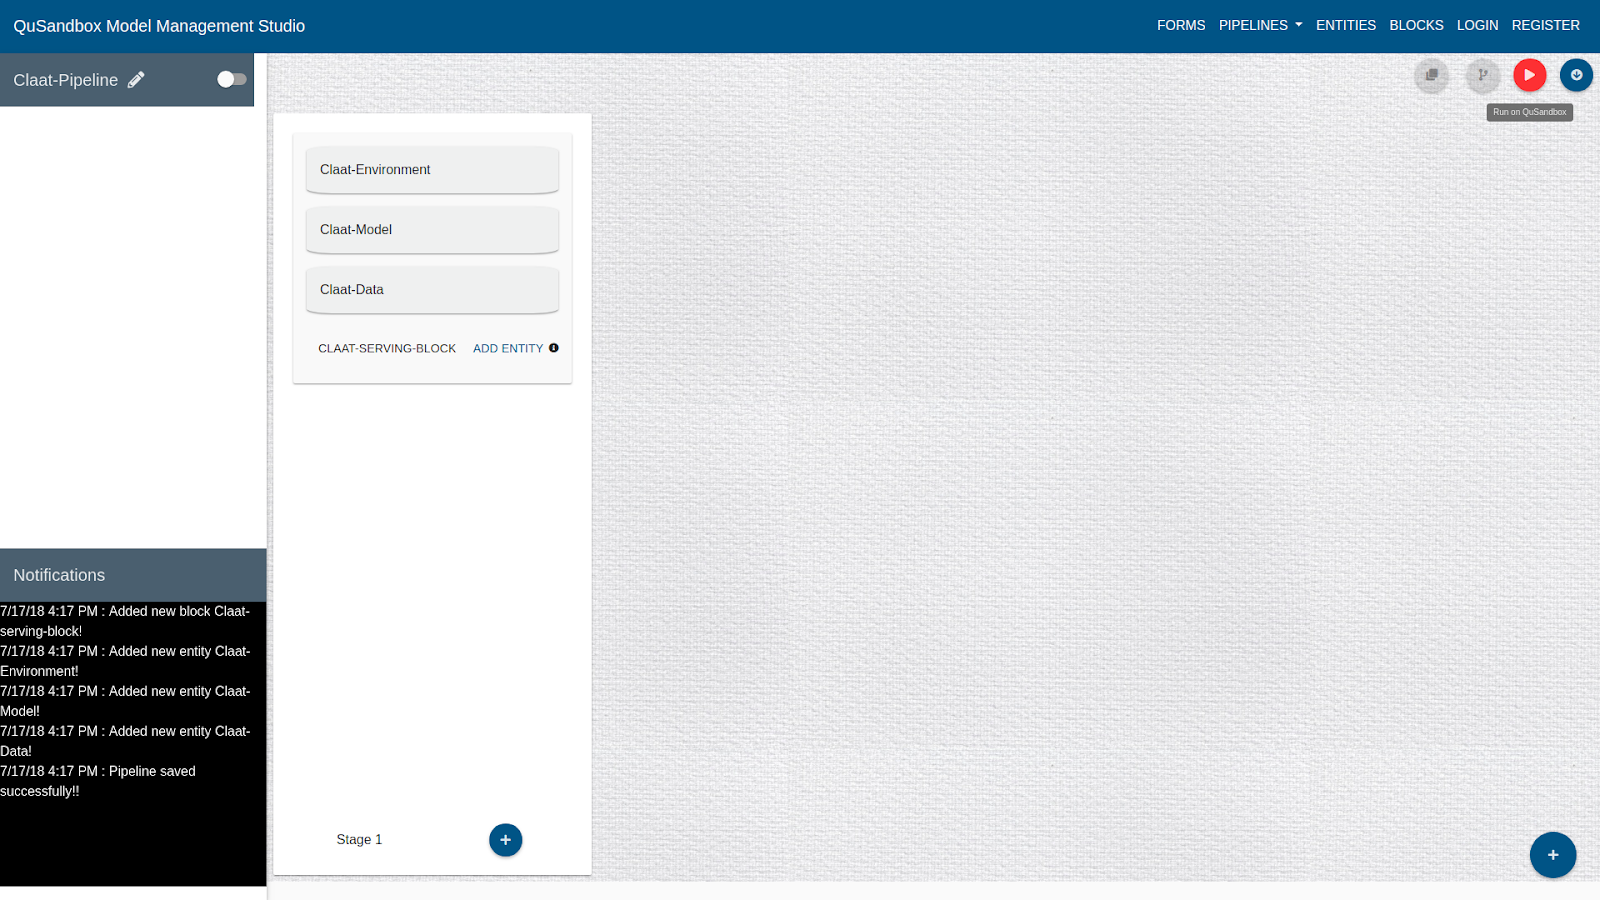
- Once a pipeline is running, a "Status" button appears on the pipeline toolbar.
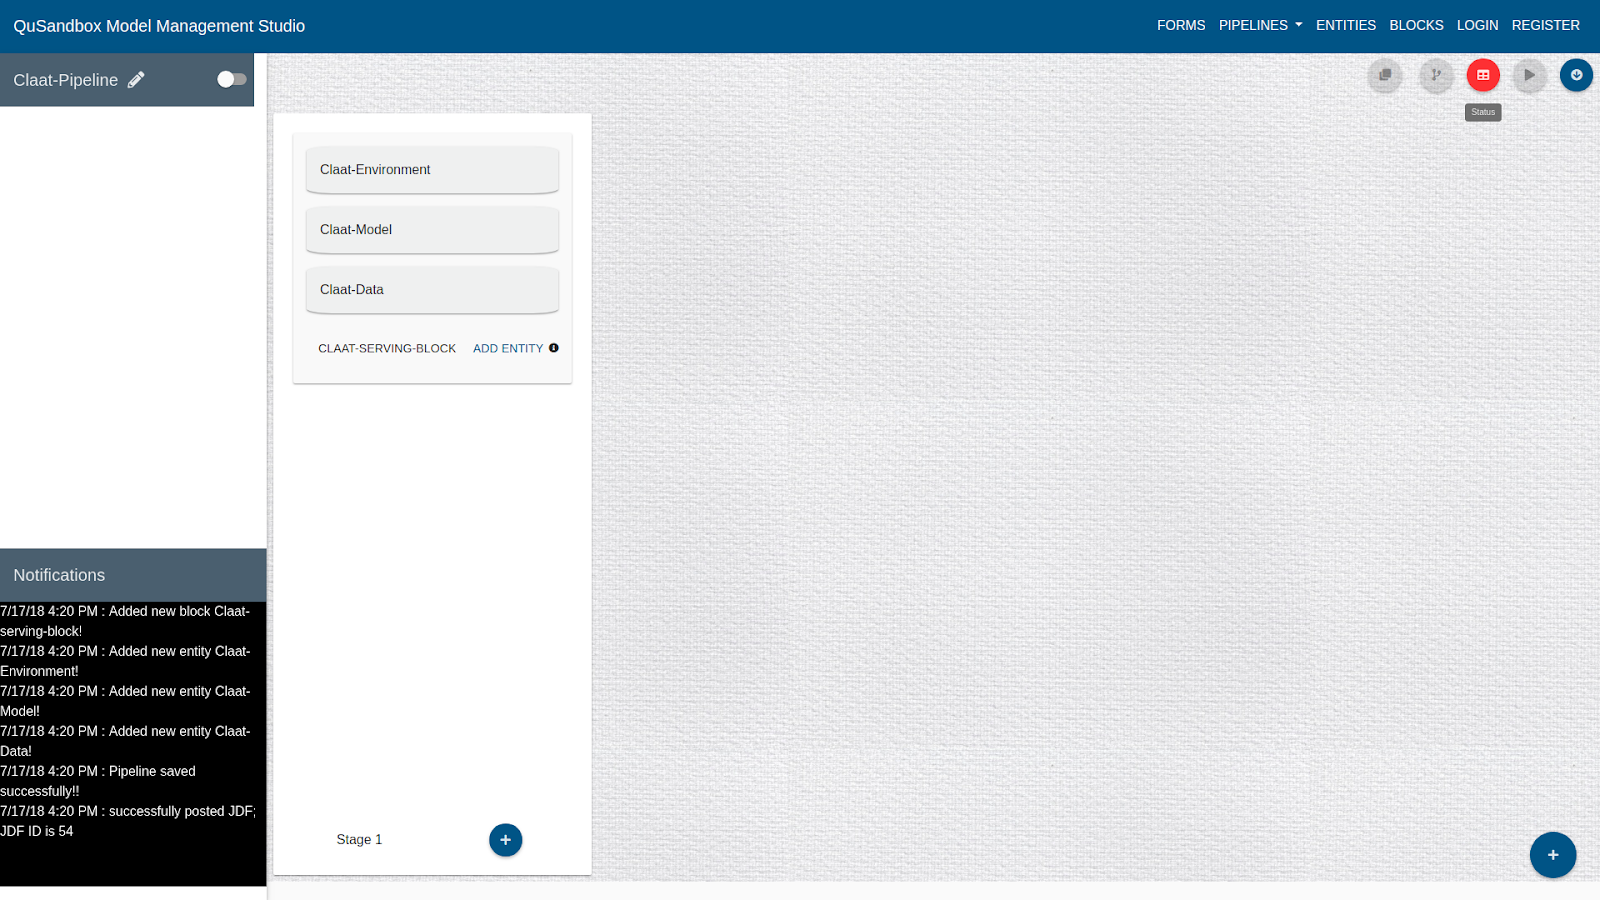
- Clicking on the "Status" button brings up a dialog with the status of the stages in the pipeline.
- Each stage in the pipeline is represented by a tab in the dialog.
- Once the status of a stage is completed the next stage Tab becomes available, for the user to view.