Last Updated: 2019-11-12
What is QuTrack?
QuTrack is a web application that aims at storing Machine learning training related data, such as model, data, environment, and configuration, on BlockChain, to make these data irreversible and traceable.
What you'll do
In this codelab, you're going to use the Qutrack application to store your machine learning data on QLDB. Your will:
- Store the data into the QLDB.
- Modifying the data.
- Trace the whole history of modifying on specific data.
- Explore the usage and frequency of the modifications.
What you'll need
- A recent version of Chrome (74 or later)
- The data needed for a specific Machine Learning project
Separate the data into different aspects
Qutrack stores Machine learning data into five aspects, pipeline, data, model, environment, and process. Thus, to start recording your data in Qutrack, separate your data into pieces according to the useage.
Data format
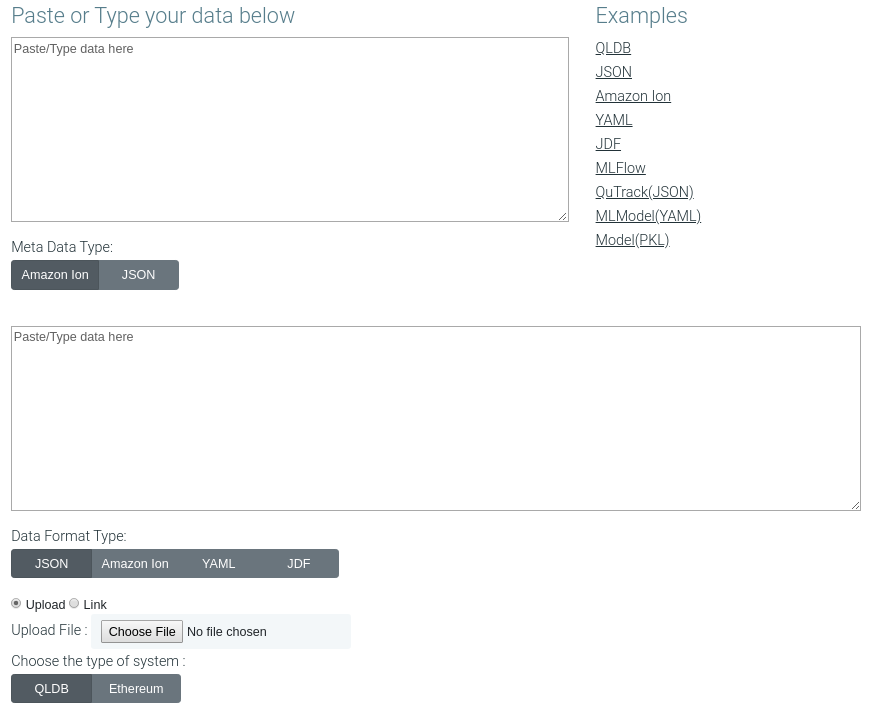
In the first textarea of pipeline, you could input key-value pairs data in JSON or ION format, which is used to define the id, name, and related data about the whole project. Especially, the id will be used to distinguish the specific project. Thus, to start a new project, avoid using existing project id.
On the right side, you could go through all the templates of each type of data supported by Qutrack. Currently, JSON is the template that fit the pipeline best.
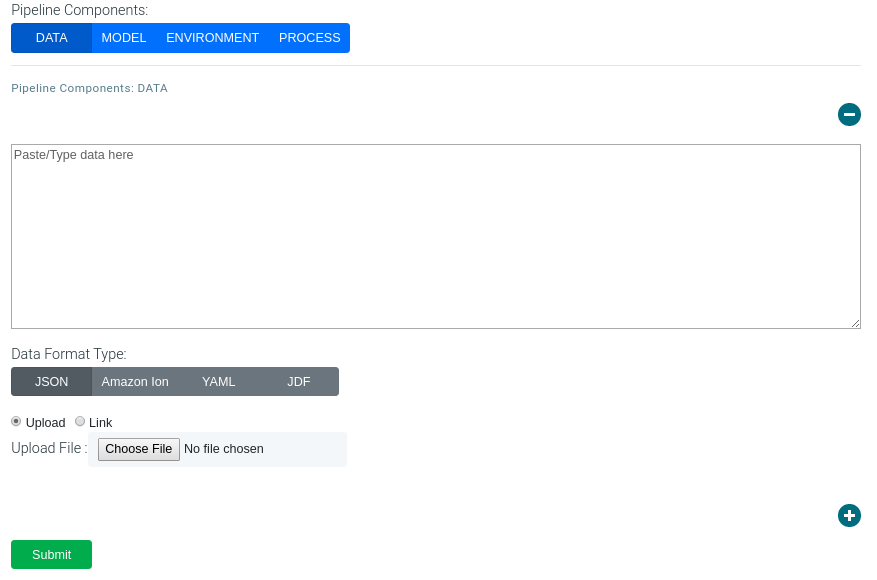
For other data, we keep them in the same format called entity, which contains metadata and file. Currently, metadata support JSON, Ion, YAML, and JDF, and file supports both upload and link. All data will be stored in private S3 related buckets, and the correlated link would be stored in QLDB.
For pipeline, you could only enter one entity, while for other four aspects, you could enter as much as you want, by clicking the add button. It is because that pipeline is used for the most general things of a project, while other aspects are used for specific configuration. For example, you may have more than one dataset to be used.
In the previous version, QuTrack also support personal Ethereum network. Thus, the data would be inserted into Ethereum when clicking Ethereum button, but the schema supported is not the newest one.
Viewing all existing projects' pipelines
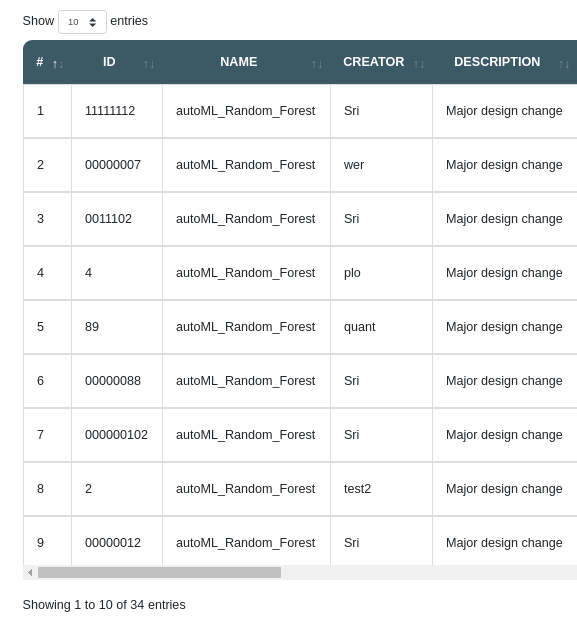
By clicking the analytics tag, you could see a table, which contains all the records of projects.
Viewing details and history of the specific project
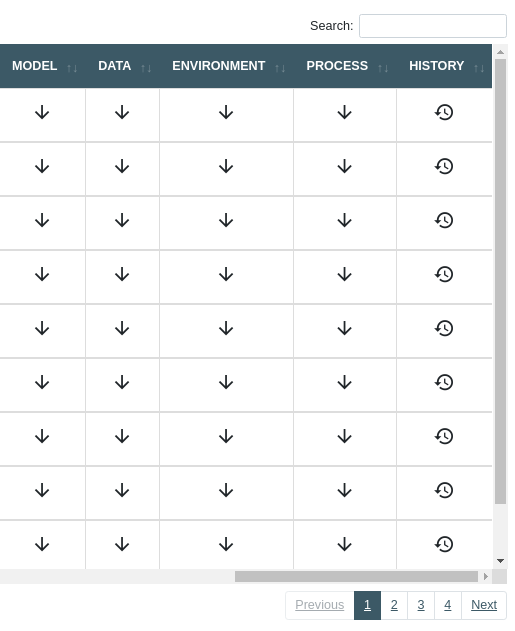
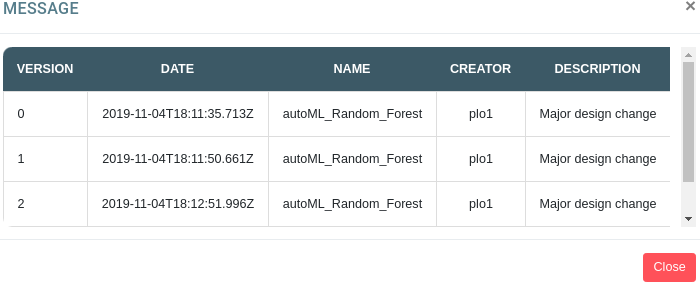
At the end of each record, you could click the drop down to have a look at the detailed data of each entity. Also, click the history button, you would be able to have a look on all the previous version of specific project.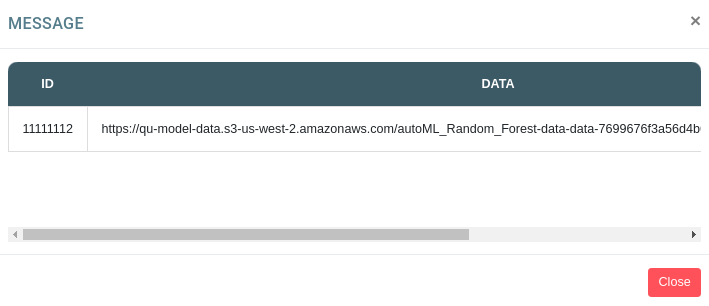
Viewing the specific version and update based on it
When going through the history of specific project, click any row in the sub table, you will be redirected to the updating page with the project id and version. After clicking search, you would be able to see all the data for that specific version and project. You could directly update any projects in this project if you already know the project id and version.
Total usage
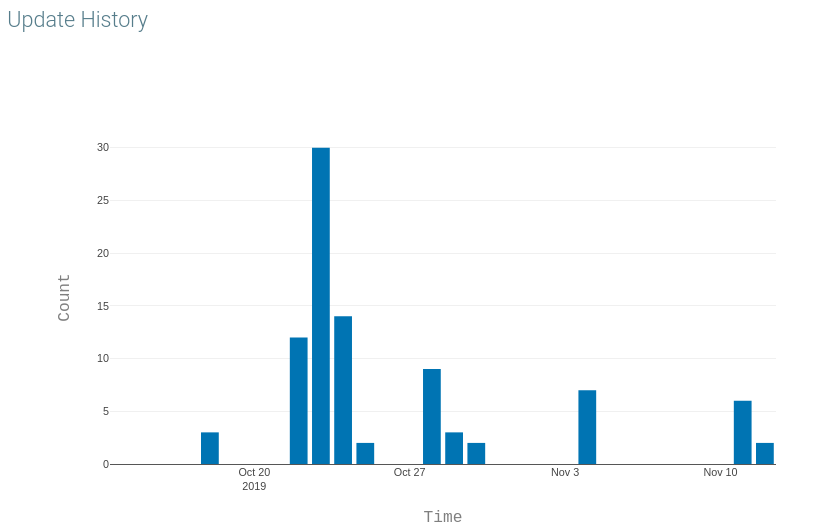
In the analytics tag, you could check the usage of how many operations have been done by all users, and how many operations have been done on specific project.
Specific project
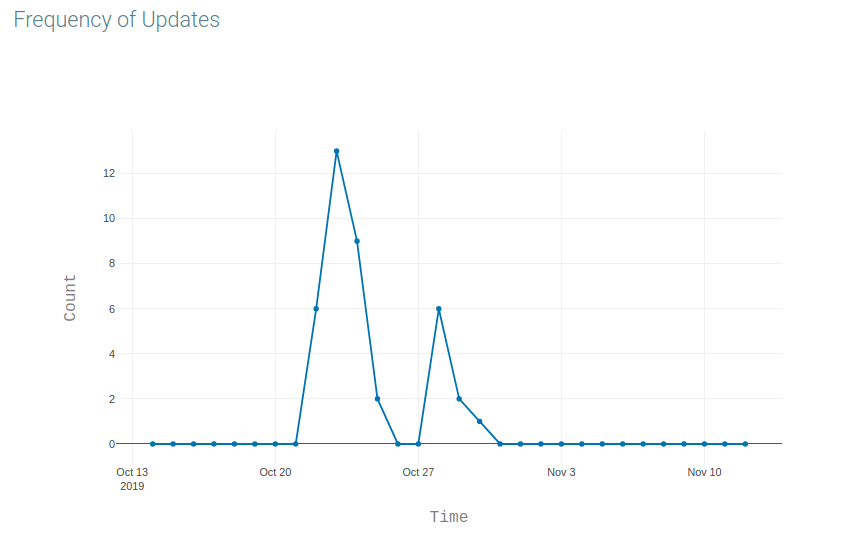
When clicking any rows in the table, the update frequency of that project would be shown in a line chart, and that row will be highlighted.
| Completed |
| Completed |
| Completed |
| Completed |
| Completed |
| Completed |
Requirement
QUTrack is a simple flask app, so it could be deployed several steps, which needs python3.6, pip3, related python packages, ganache, Java 8.
Install
1. We need ethereum test chain like ganache.
Ganache is a personal blockchain for Ethereum development you can use to deploy contracts, develop your applications, and run tests.
$ npm install -g ganache-cli
2. Install python web3.
Web3.py is a python library for interacting with ethereum. Its API is derived from the Web3.js Javascript API and should be familiar to anyone who has used web3.js.
$ pip3 install web3
3. Flask:
Flask is a microframework for Python
$ pip3 install flask
4. Flask Restful, login
Flask-RESTful is an extension for Flask that adds support for quickly building REST APIs.
$ pip3 install flask-restful, flask-login
5. AWS
$ pip3 install awscli boto3
$ aws configure
Input credentials required, copying from exists QuSystem.
6. Configure ganache. (not required)
To deploy smart contract we should start test ethereum server. We are using ganache for testing. Type below command in terminal.
$ ganache-cli
Note: Execute the ganache-cli command in different terminal.
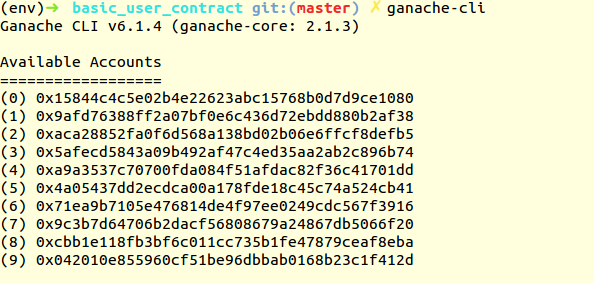
Ganache Account Address
Ganache gives us 10 default test accounts with 100 fake ethers in each account for transaction. We will use these accounts for deploying and setting values in contracts.
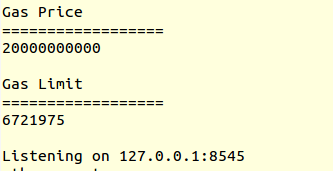
Ganache port
We can see the gas prize and limit along with host:port on which ganache is deployed. We will need this while deploying contract
SOLC Solidity compiler
$ pip3 install py-solc
$ python3 -m solc.install v0.4.21
Note: use only 4.21 version this app does not support the other version. If error occurs after successful installation then check SOLC is in the environment path. If it SOLC path error then try adding it to PATH variable in environment to fix error(this might work or might fail) please make sure you are checking what type of error or failure before using this. Also make sure to safely copy the path of SOLC to environment PATH if you do not take care of it all the PATH in environment might fail.
Type $ python3 create_contract.py to create the contract
7. Install Java8, and install py4j, following the official guide.
8. Git clone the qldb-javapart, and modify the path of py4j package in build.gradle to link to the right position. Using the following code to start the java part sever.
$ ./gradlew run -Dqldb=qldbApp
9. Cd to the python part, and type this to run $ python3 object.py
(modify main.py port to deploy the application on different port, everything is the same as flask doc, add sudo for port < 1024 in the last step)
Qusandbox deployment
Directly use the project already created in test2 server
If there is a need to update the code:
Start an old project, or the AMI with ami-0226200a0fcd87d12, then ssh the instance
Git clone or pull
Create new AMI
using existing postscript with new AMI in jdf to create a new project
QLDB
Using Flask as the basic framework.
Using java to connect to AWS QLDB, as it currently only support java.
Using py4j to connect flask and java.
Format all the data input, and use ion to read it, as ion could read both json and ion.
Simplify the model part, to use QLDB as a document no-sql database.
In QLDB only the latest data of different projects, identified by id, will be stored.
Using the QLDB default history table, which is the same as transaction history in Ethereum/Blockchain to support the history and version related functions.
Ethereum
Using web3 to connect the personal ethereum network - Ganache.
Using solidity to generate the schema of a data structure called contract in ganache.
Post the json style data to backend, which suits the schema defined before.
Store data in to the block chain using web3, using the address of the contract.
In fact, value are stored in contract, while ordinary block only store transactions.
Using the functions defined in the schema, retrieve the data inside contracts and response to the front end.
